User Panel
The User Panel is the page used by the end user to consult the data sent by his devices, displaying only the devices belonging to his organisation.
Appliances
An Appliance is a final product. It is a machine identified by a serial number with an internal gateway (Device) connected to the Astarte/Clea. An Appliance can be assigned to a customer by the provider organization.
Appliances List
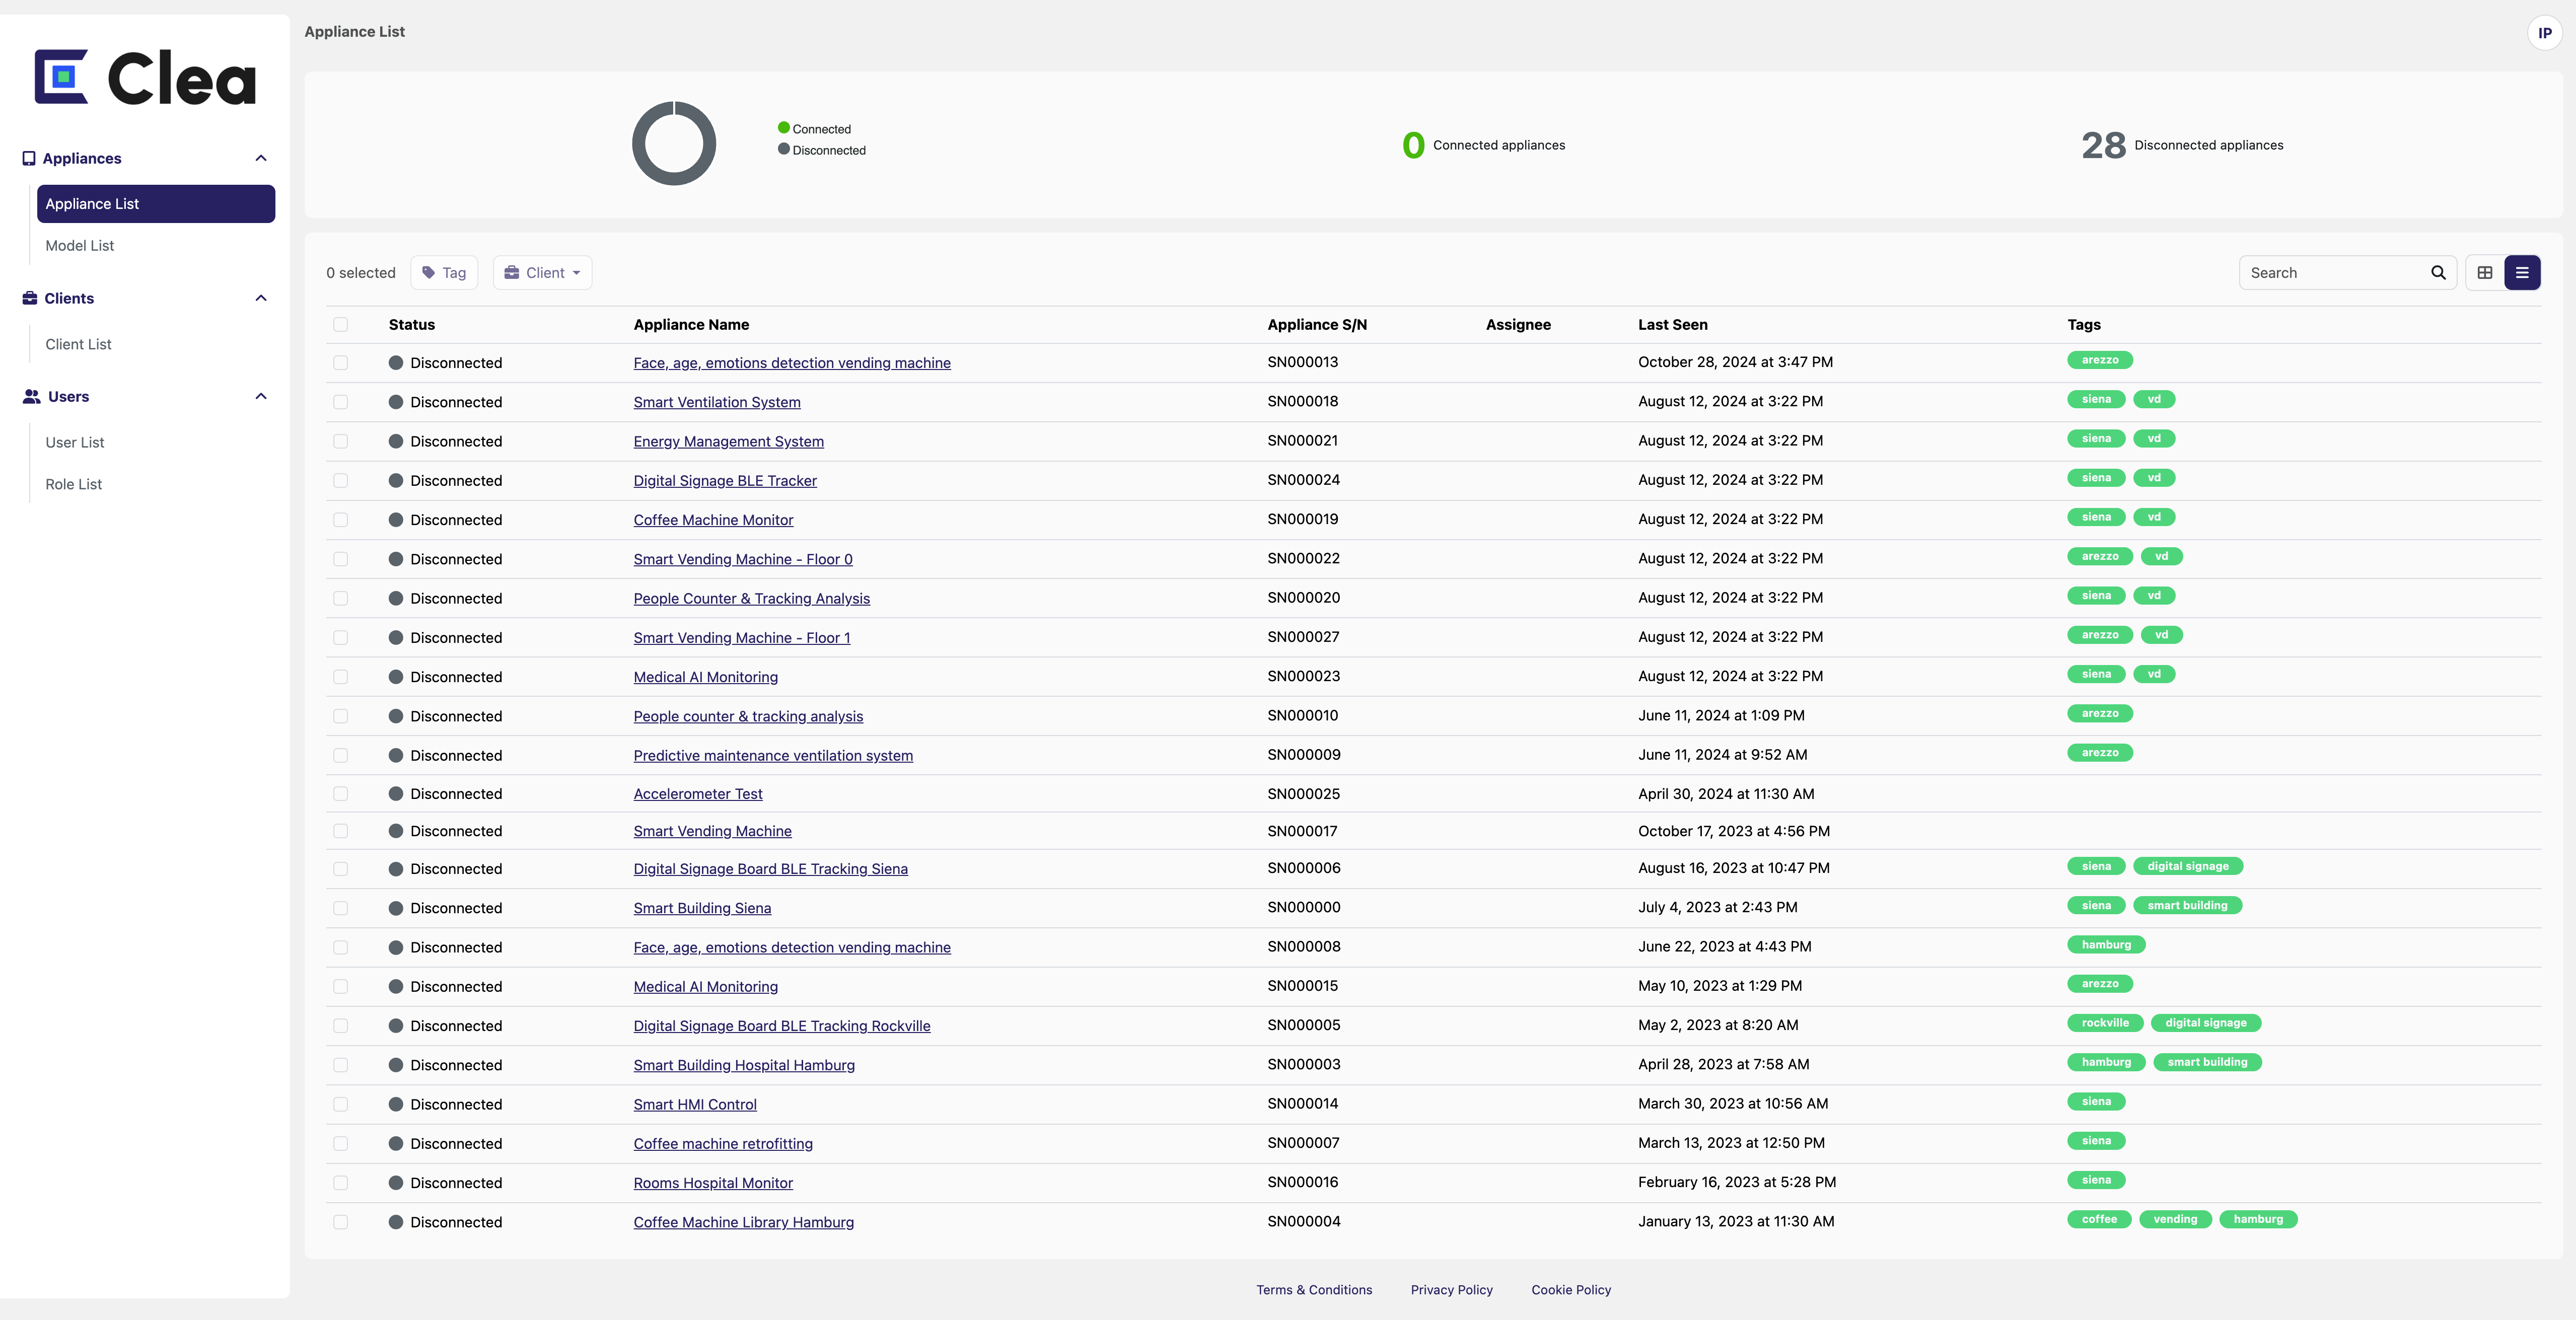
This section can visualize all the appliances registered within the customer's domain. On the left, you have a real-time snapshot of the status of the appliances simplified by a graph.
In the current state, you can view
- Status of the appliance.
- Name.
- Serial Number.
- Customer to whom it is assigned.
- Last update sent by the machine.
- Tags associated with the single appliance.
To view the page dedicated to the single appliance, just click on the appliance's name you want to select.
Appliance Page
Inside all the Appliances page, you have the details of the single device, and you can also add tags and associate the appliance to a client.
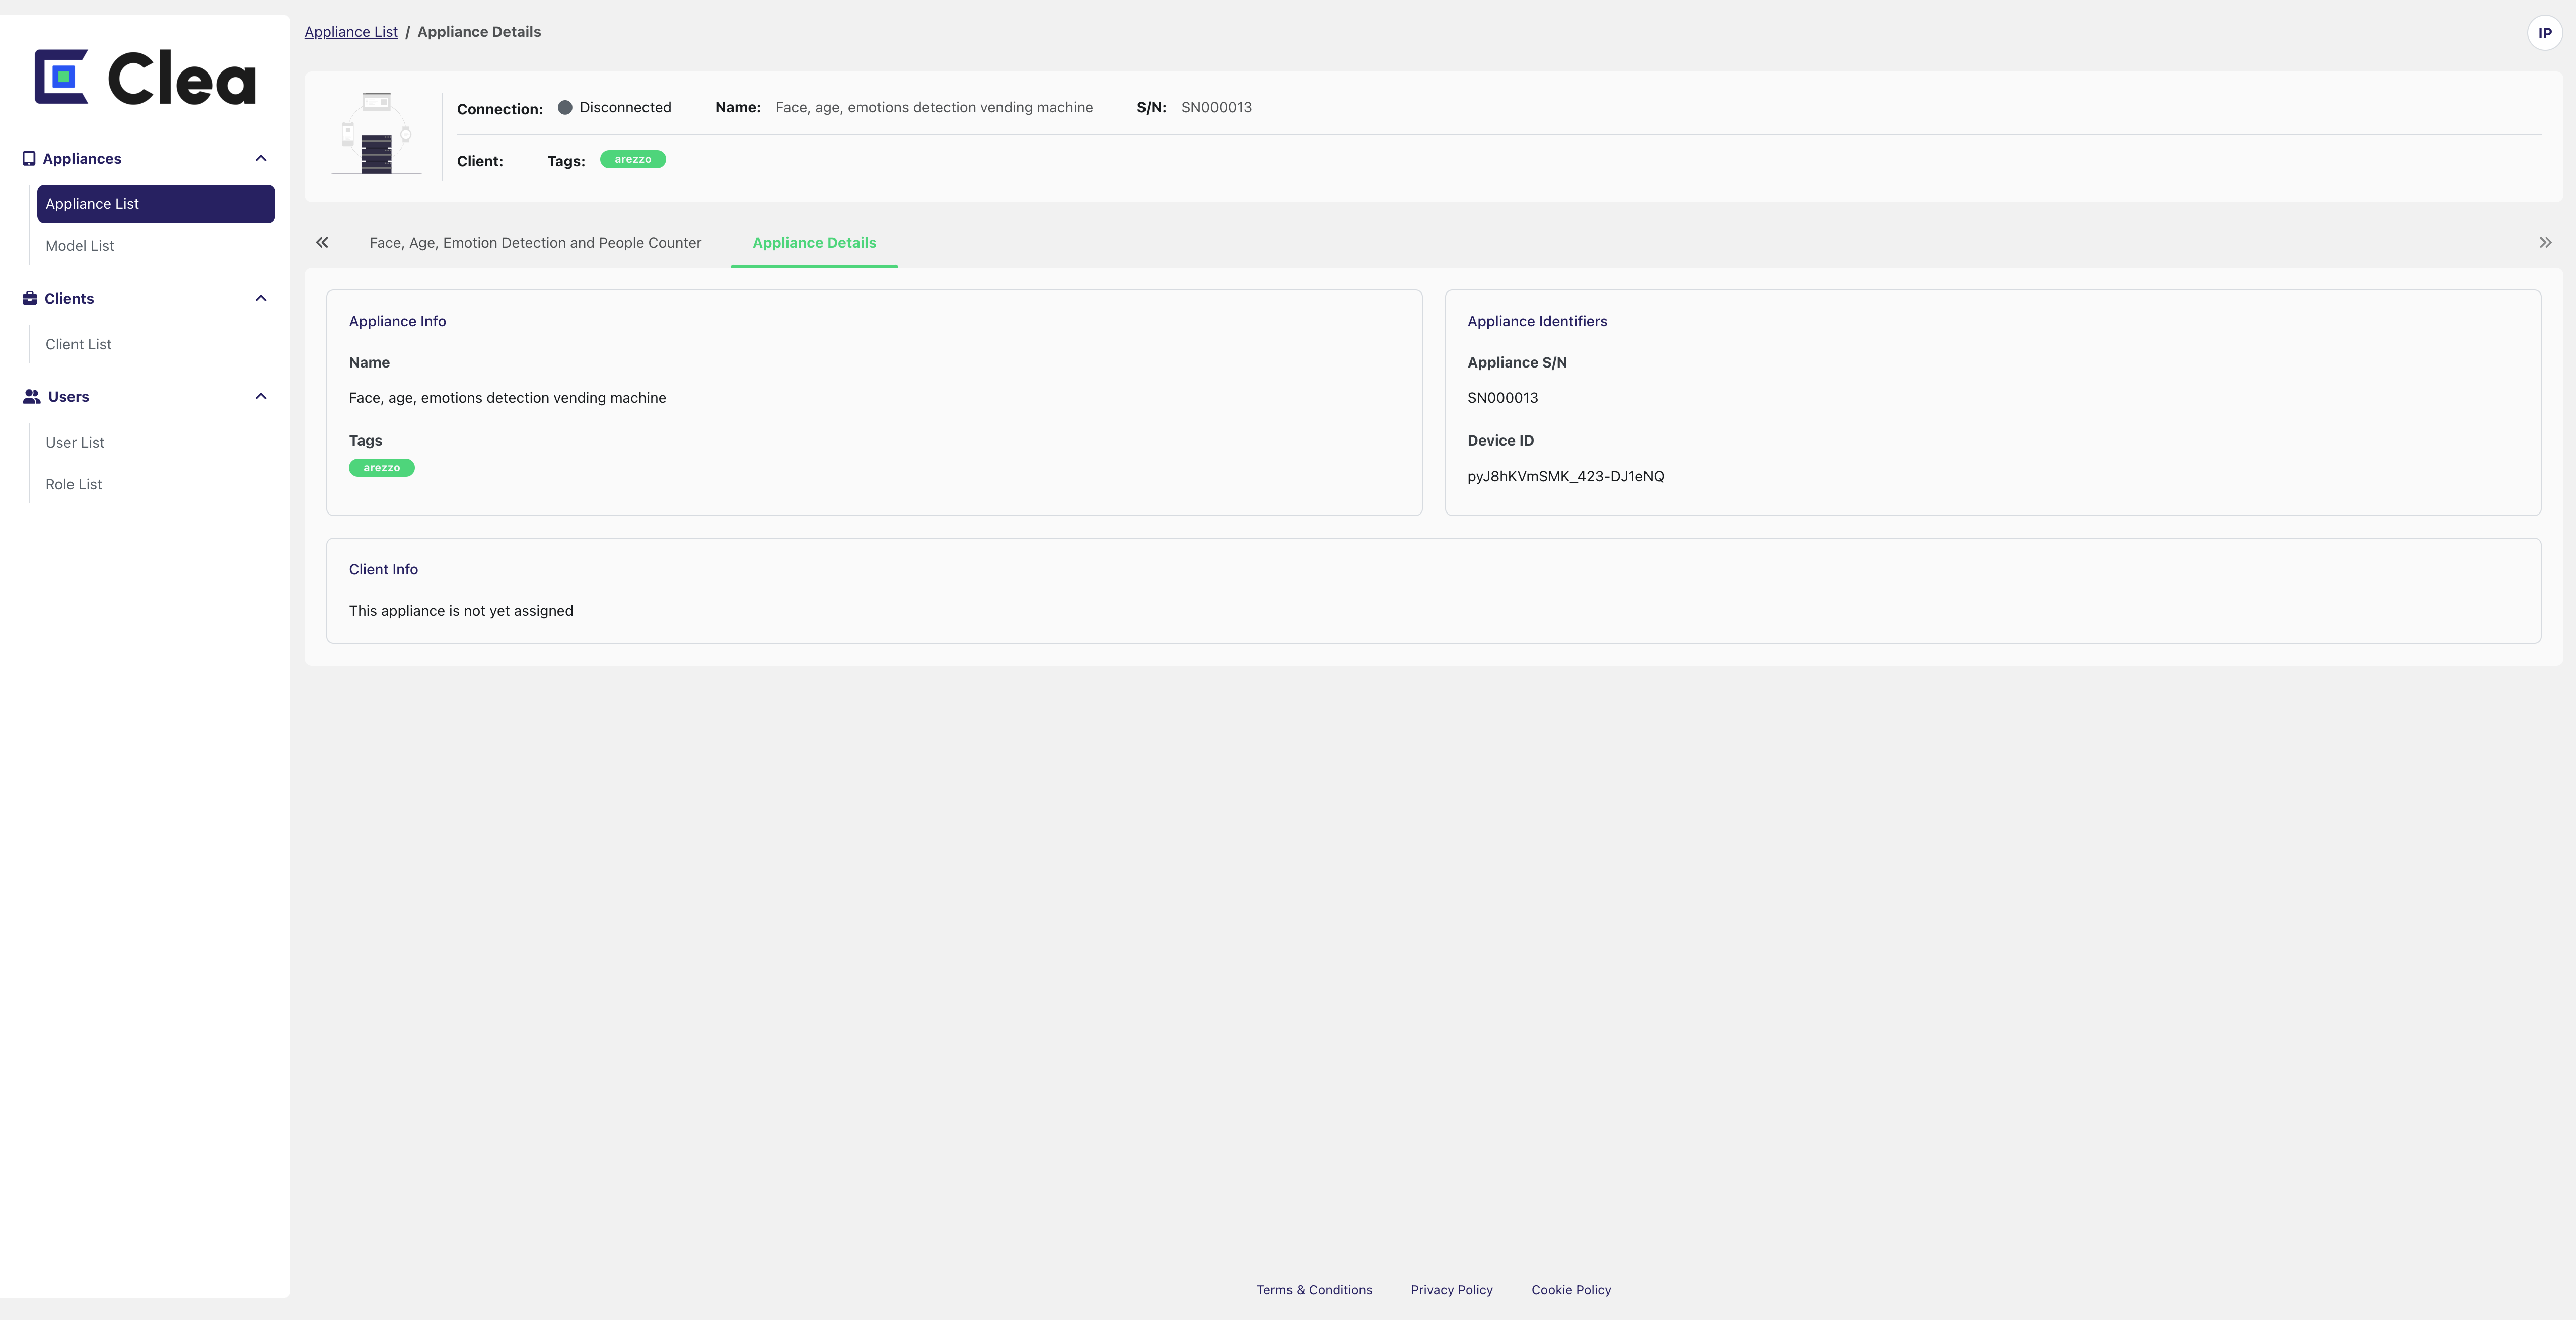
You can add new tags associated with the single appliance by writing in the dedicated field. You can filter the appliances for parameters and easily define them, thanks to tags.
For example, you can use tags to insert a project number or order number to search for that appliance or all those belonging to that specific order on the appliances list page. Another possible use could be to indicate through the tags a group of test machines, or to divide them by geographical areas, and so on.
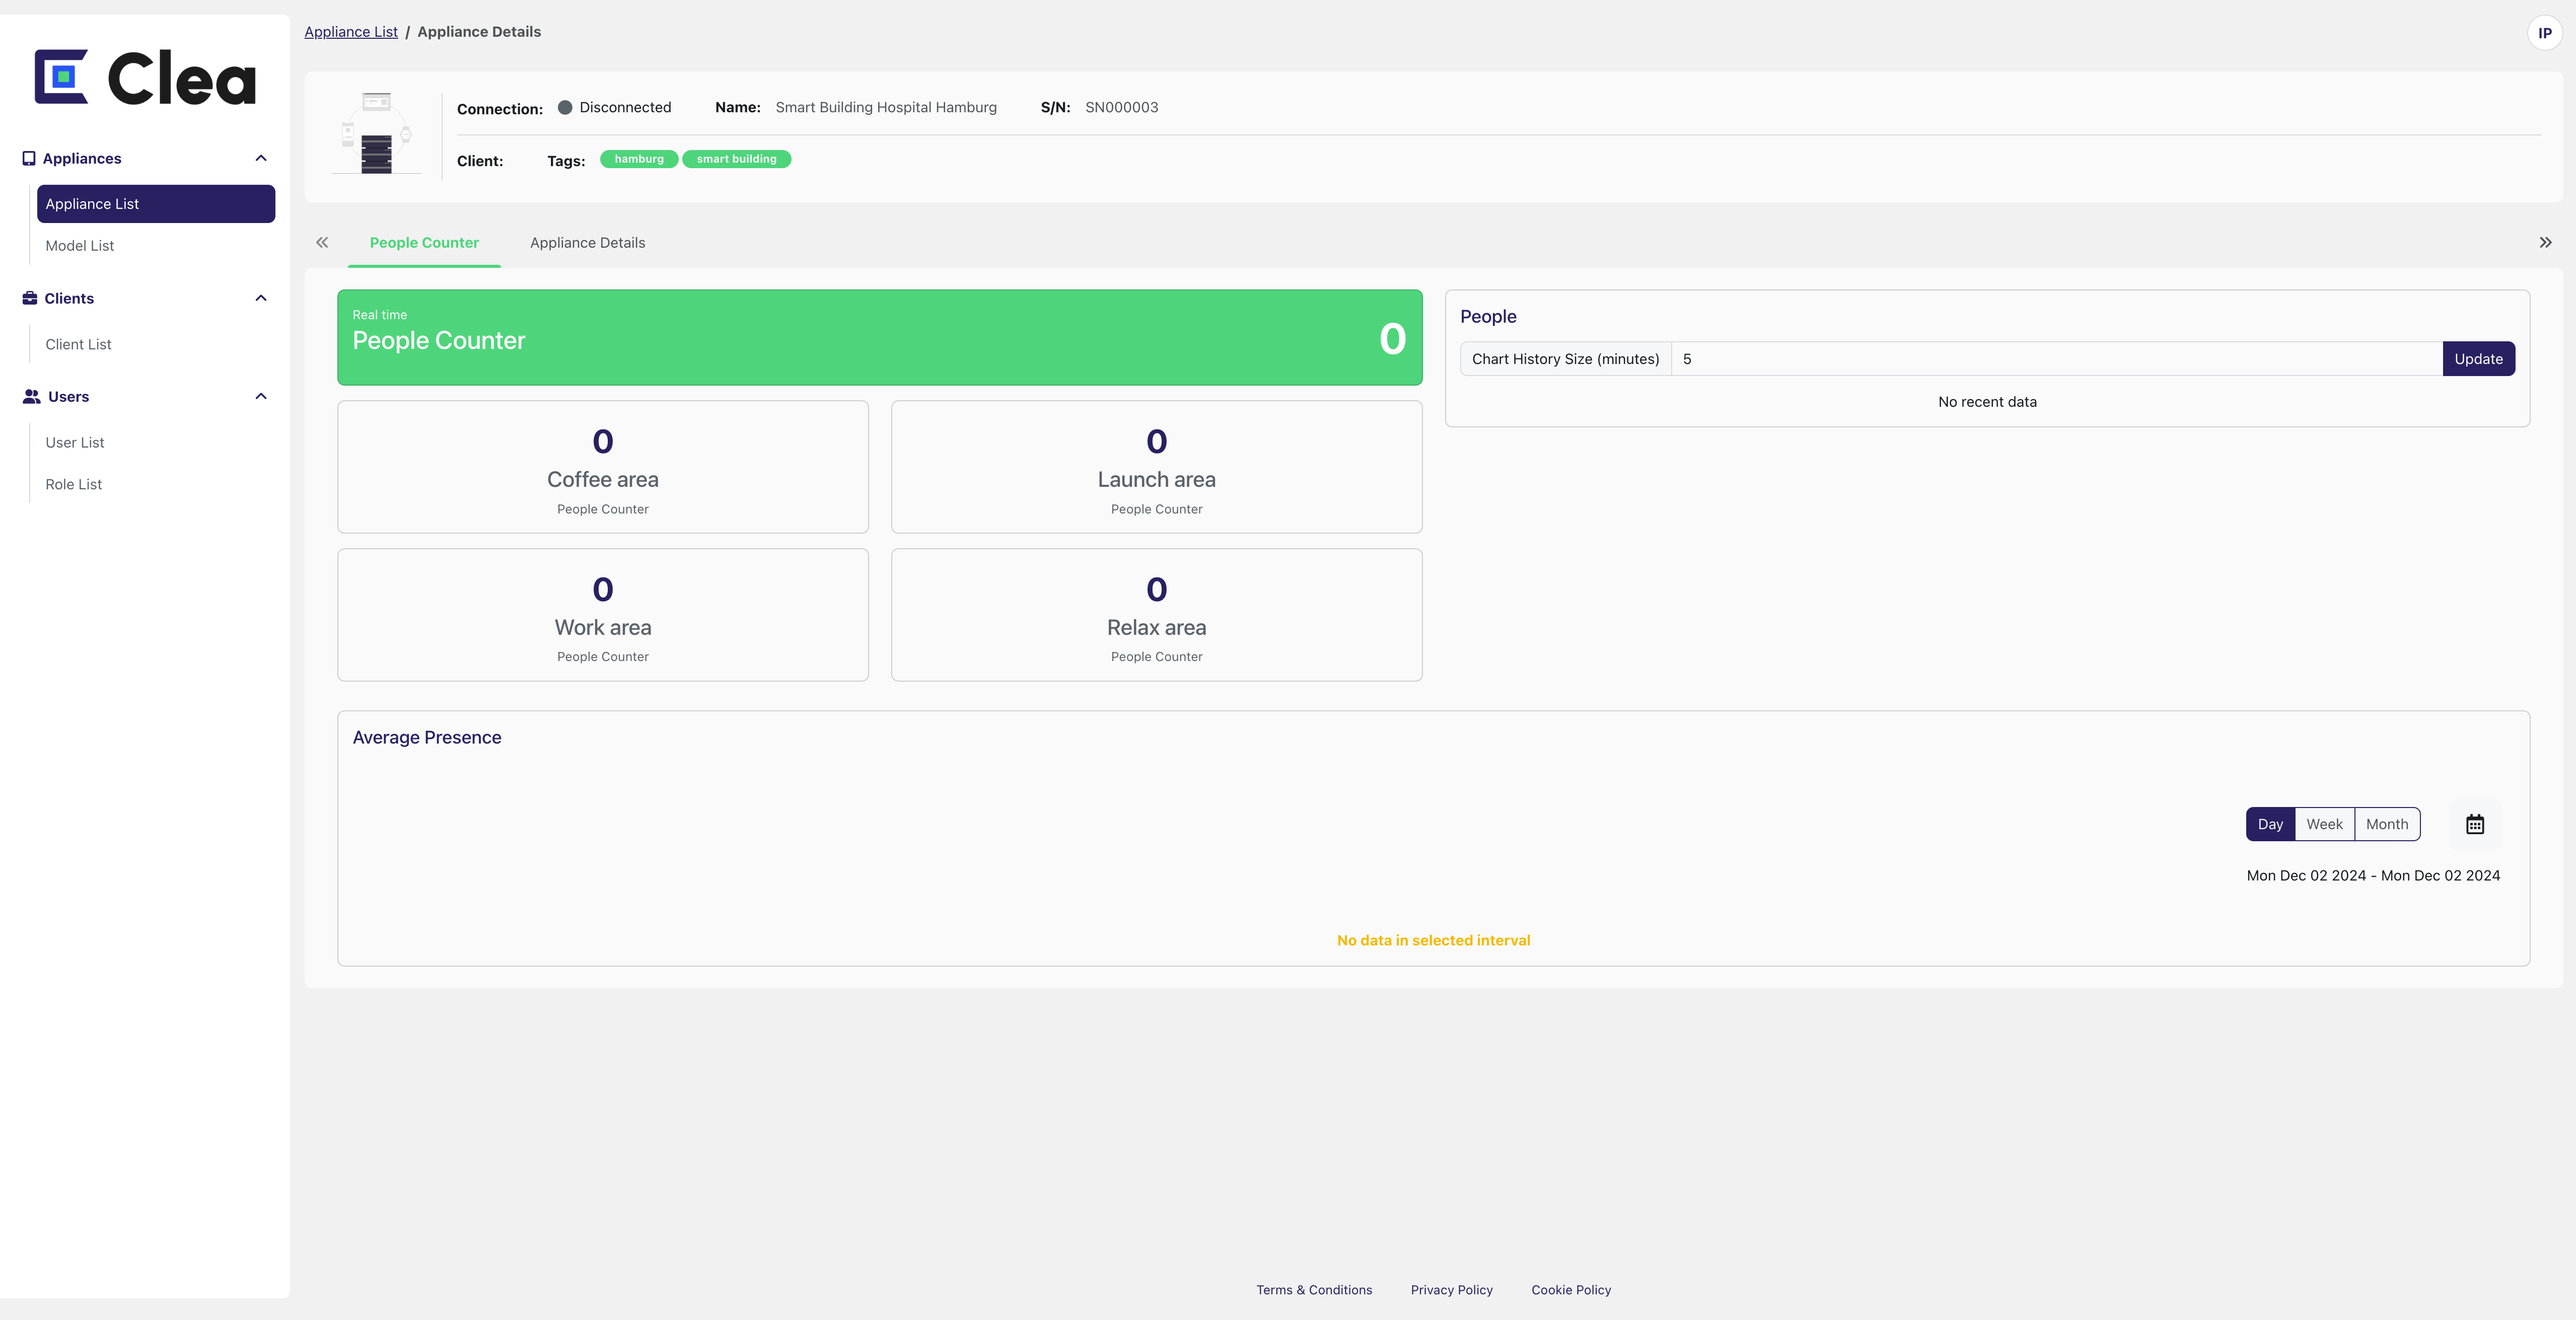
Next to the Appliance Details tab, you can find a list of other tabs, each of which is a different Clea Portal App customized from you developing a third-party Clea Portal App specific to this appliance.
Add Appliance
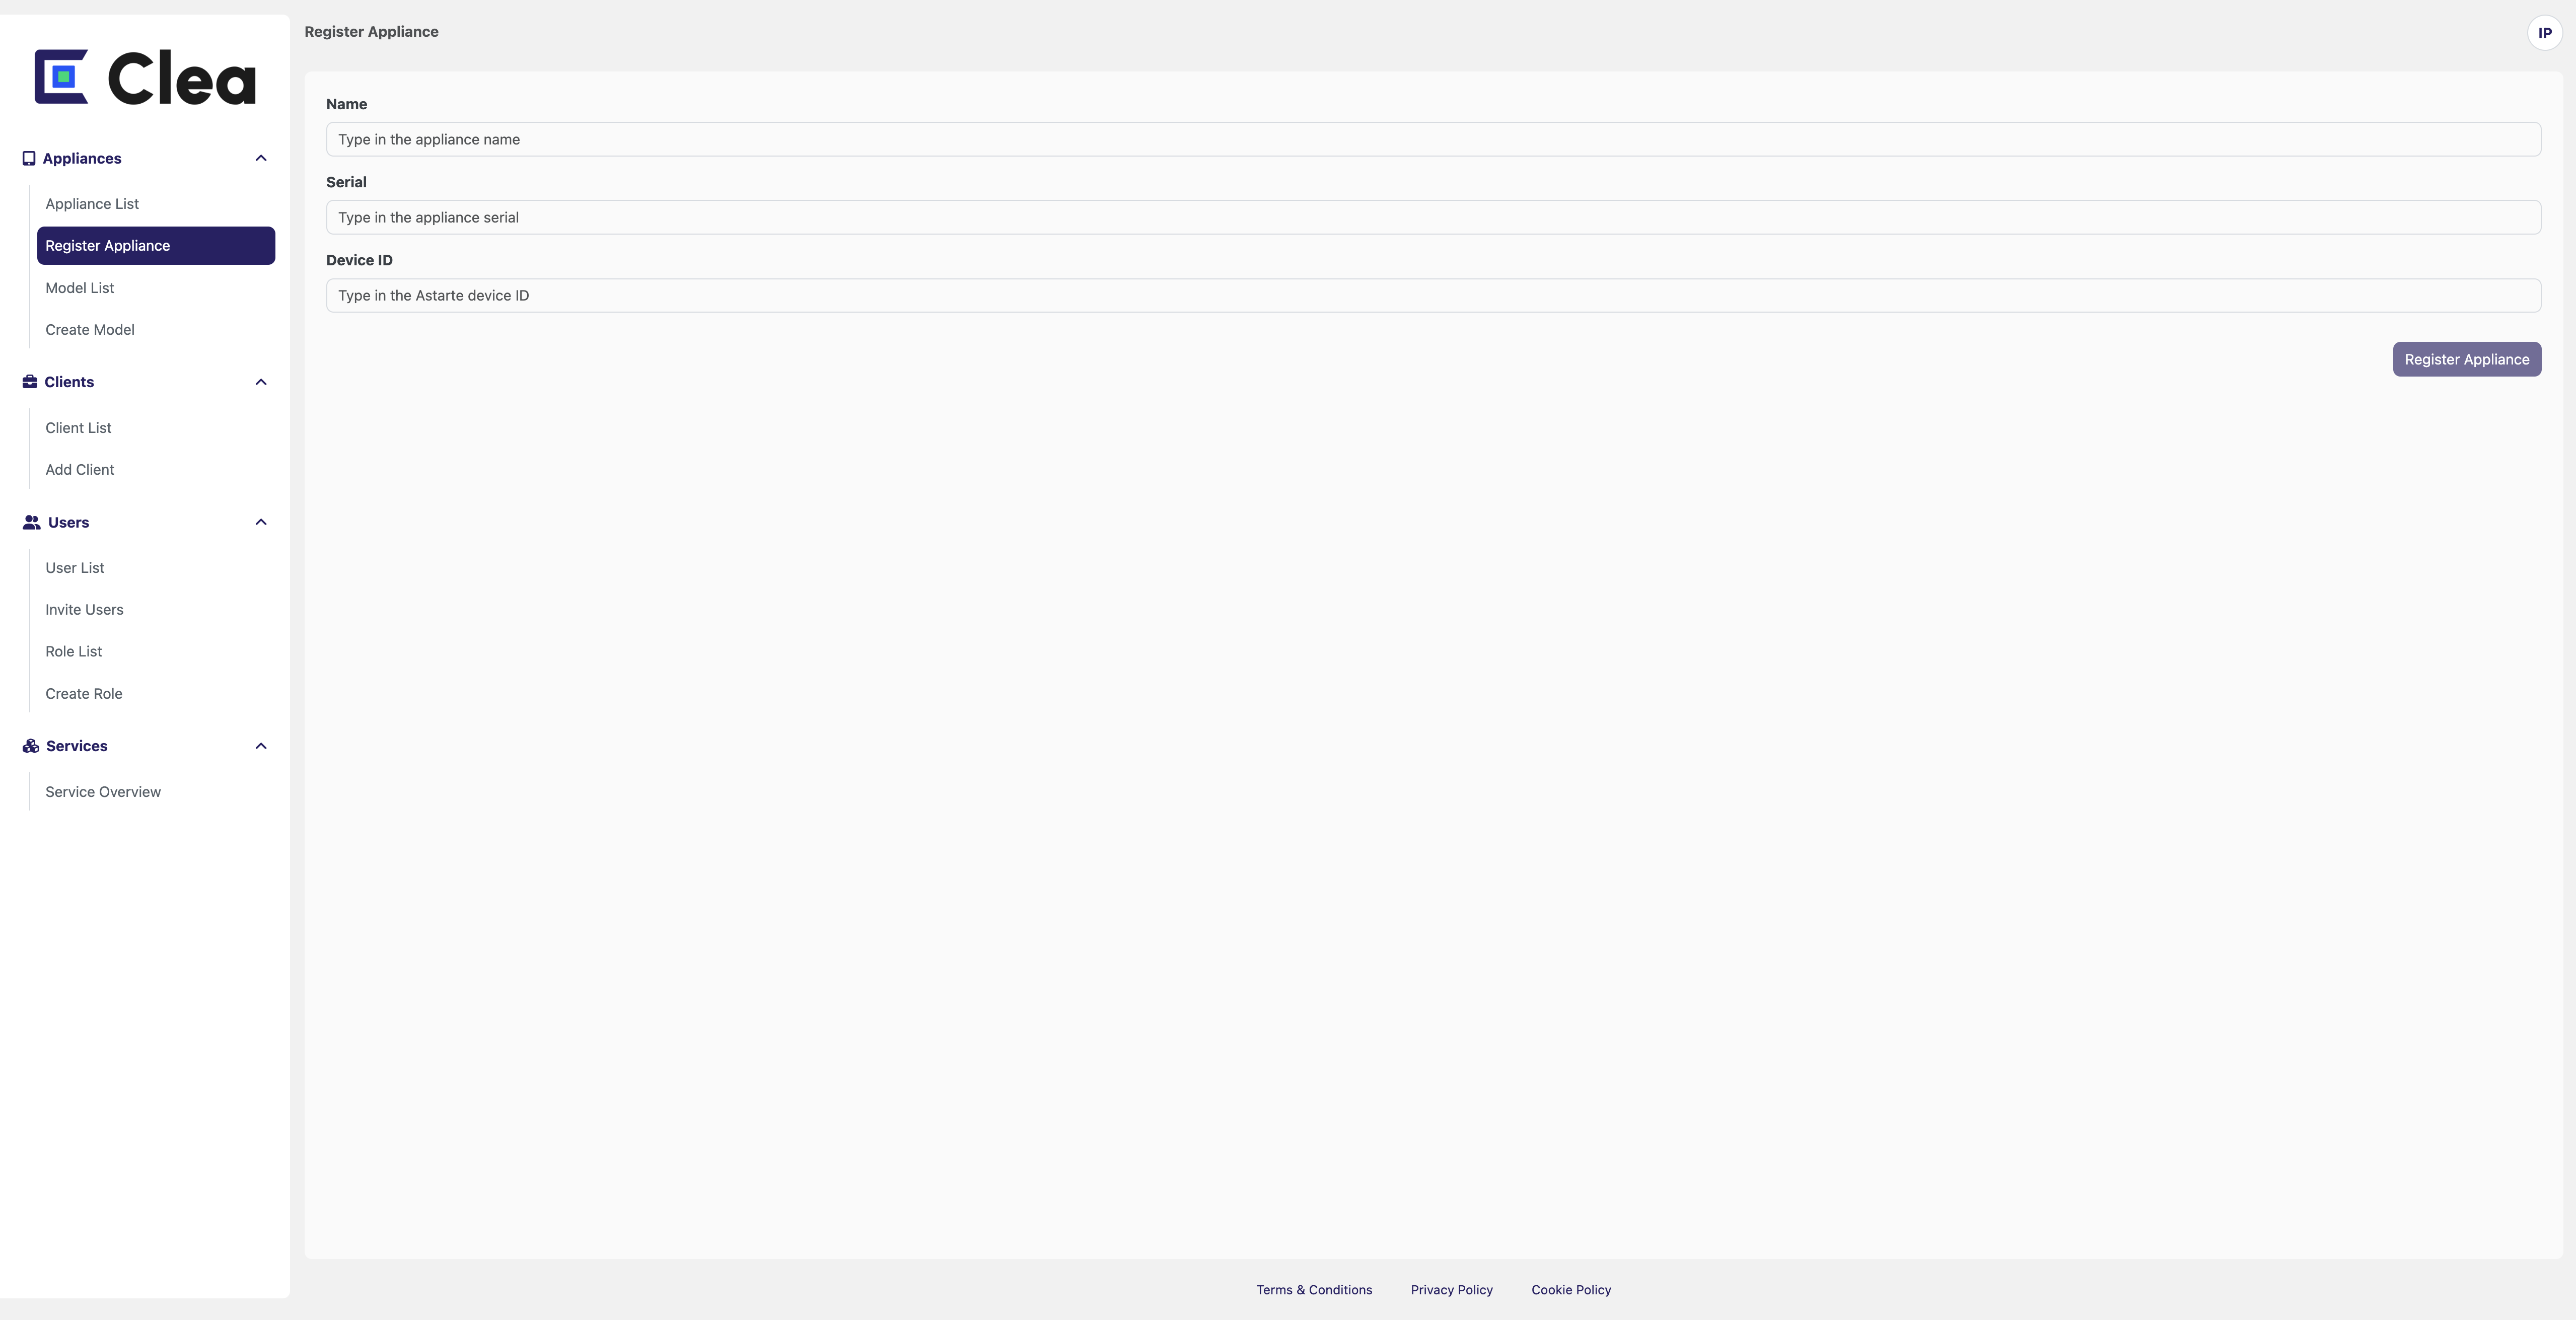
You can register any device connected to the Astarte tenant associated with Clea as an Appliance. Check here how to connect a new appliance to Clea.
Once on the Add Appliance page, you must enter:
- Name: is a generic name assigned to the appliance.
- Serial: this field will be used to record an external serial number to identify the appliance, such as the serial number of the machine within the device will be installed or the serial number of the control unit connected to the device.
- Device ID: is an alphanumeric code that identifies the device within the Clea cloud platform. This ID is the Device ID that identifies the device in the Astarte platform.
Once you have filled in all the data, you can click on Register appliance.
Clients
Client List
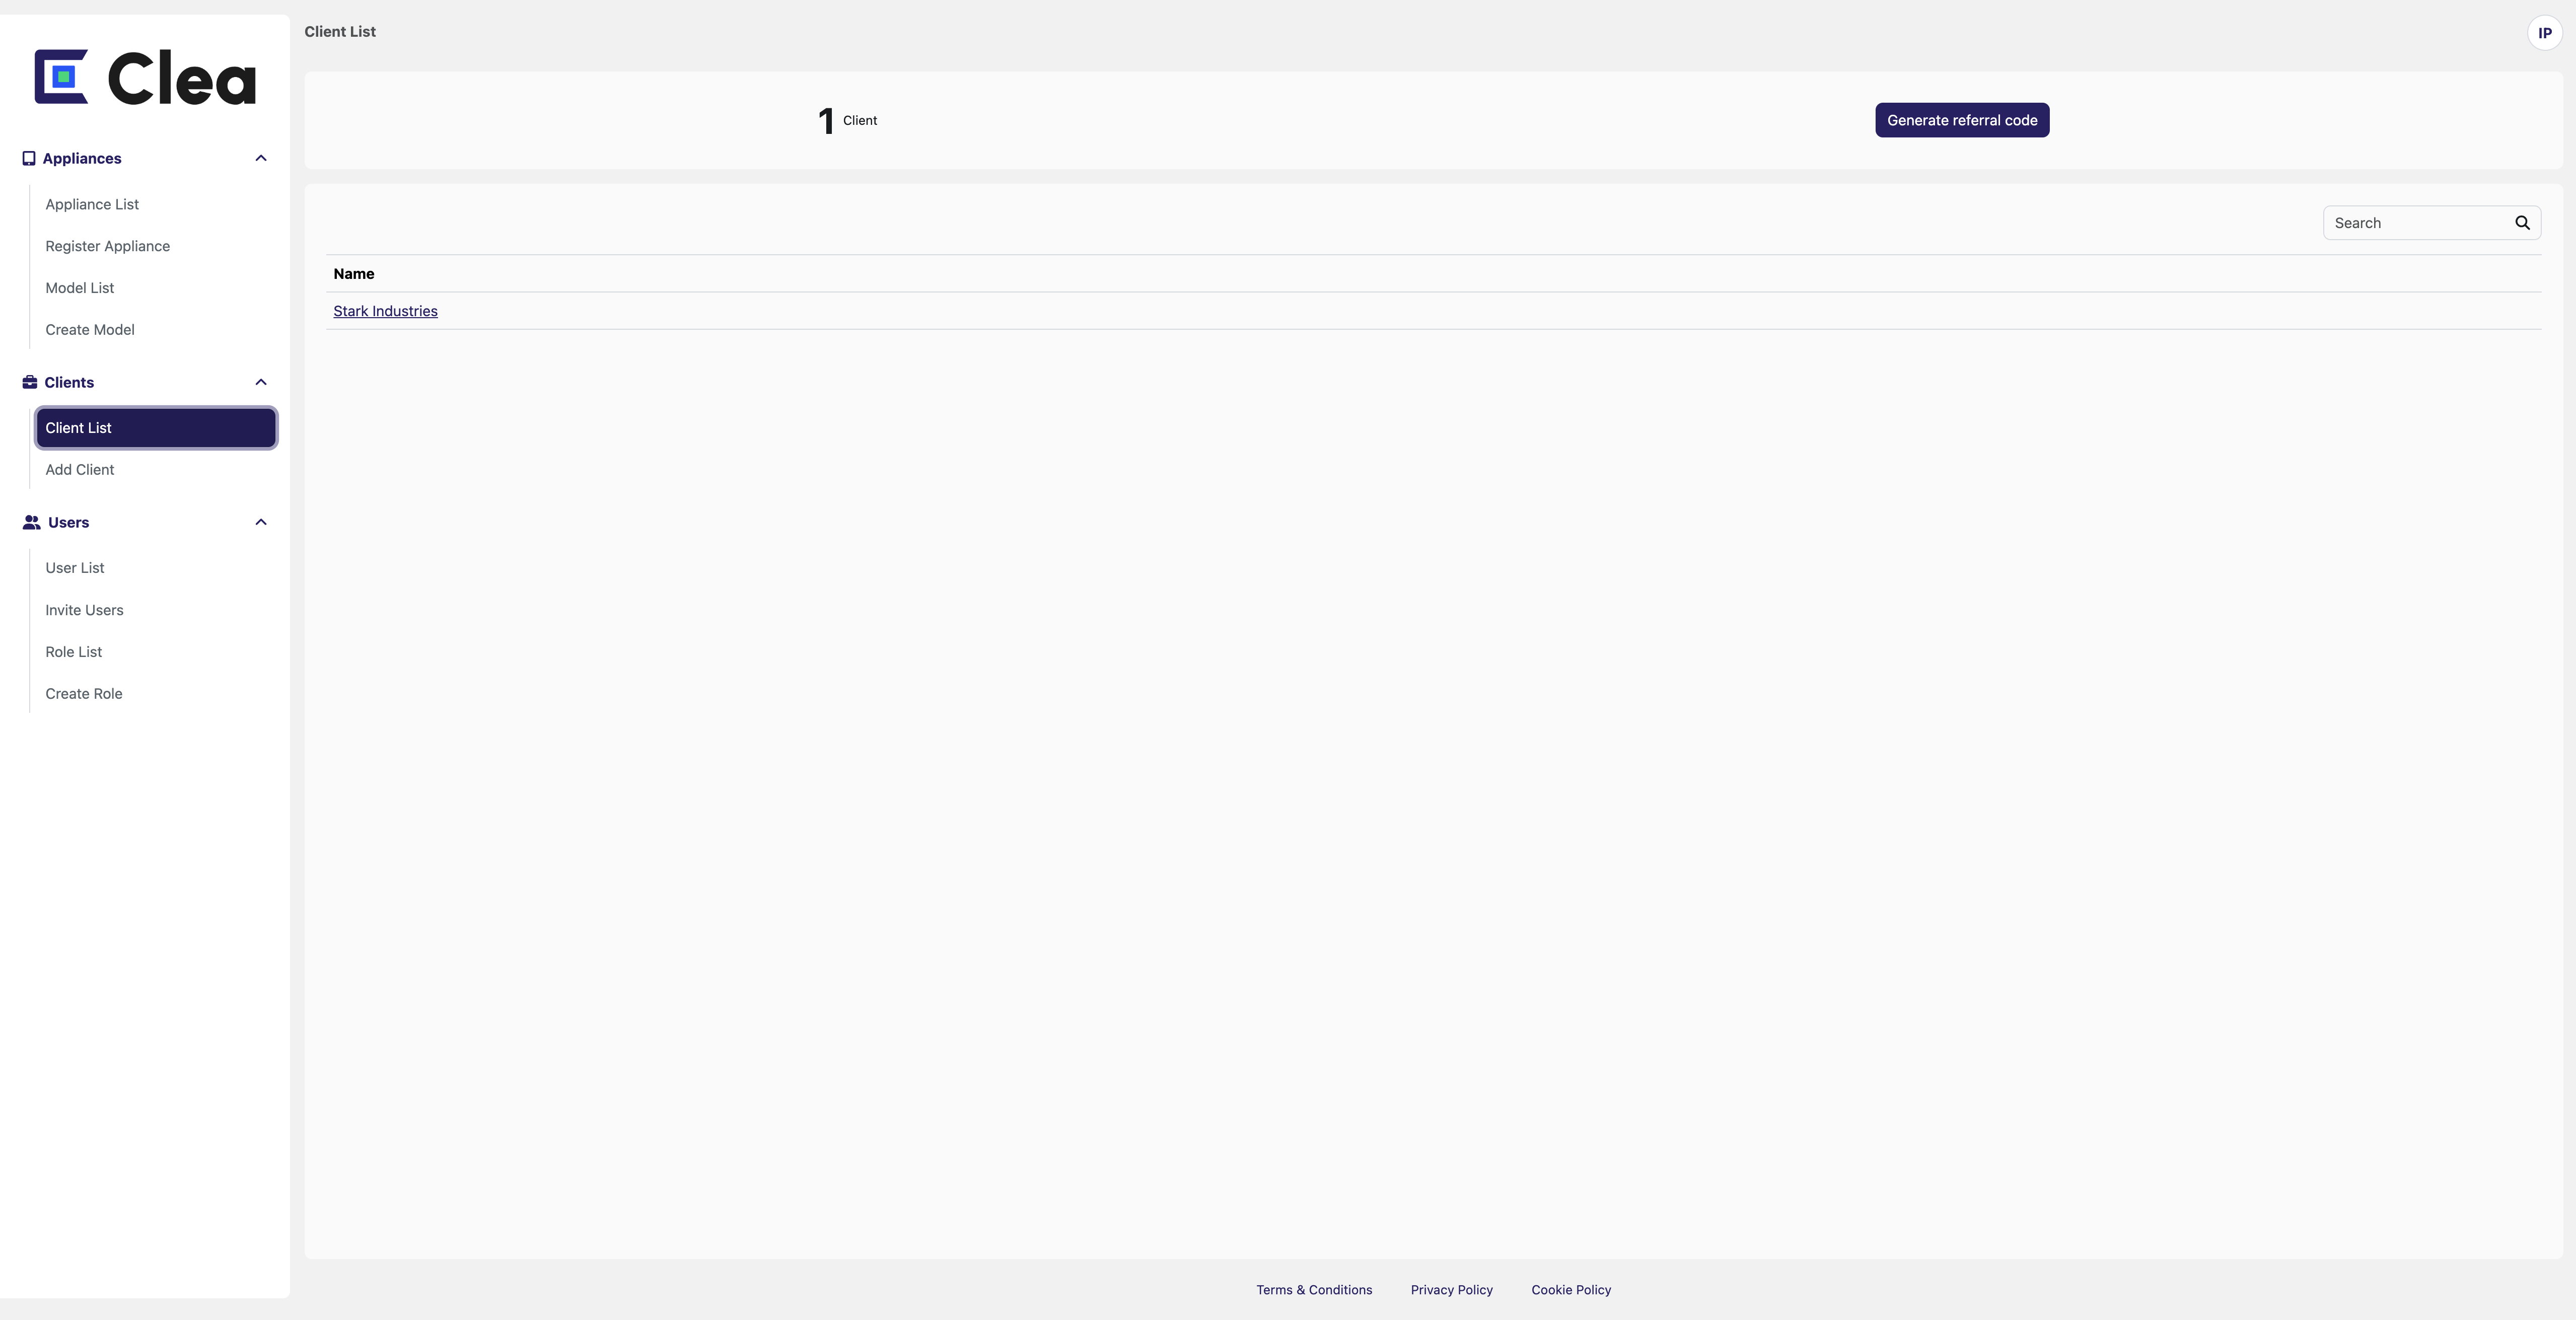
The Client List section contains the clients added to the company to which it will be possible to associate the appliances once registered. To view the client page, the user will have to click on the Client name.
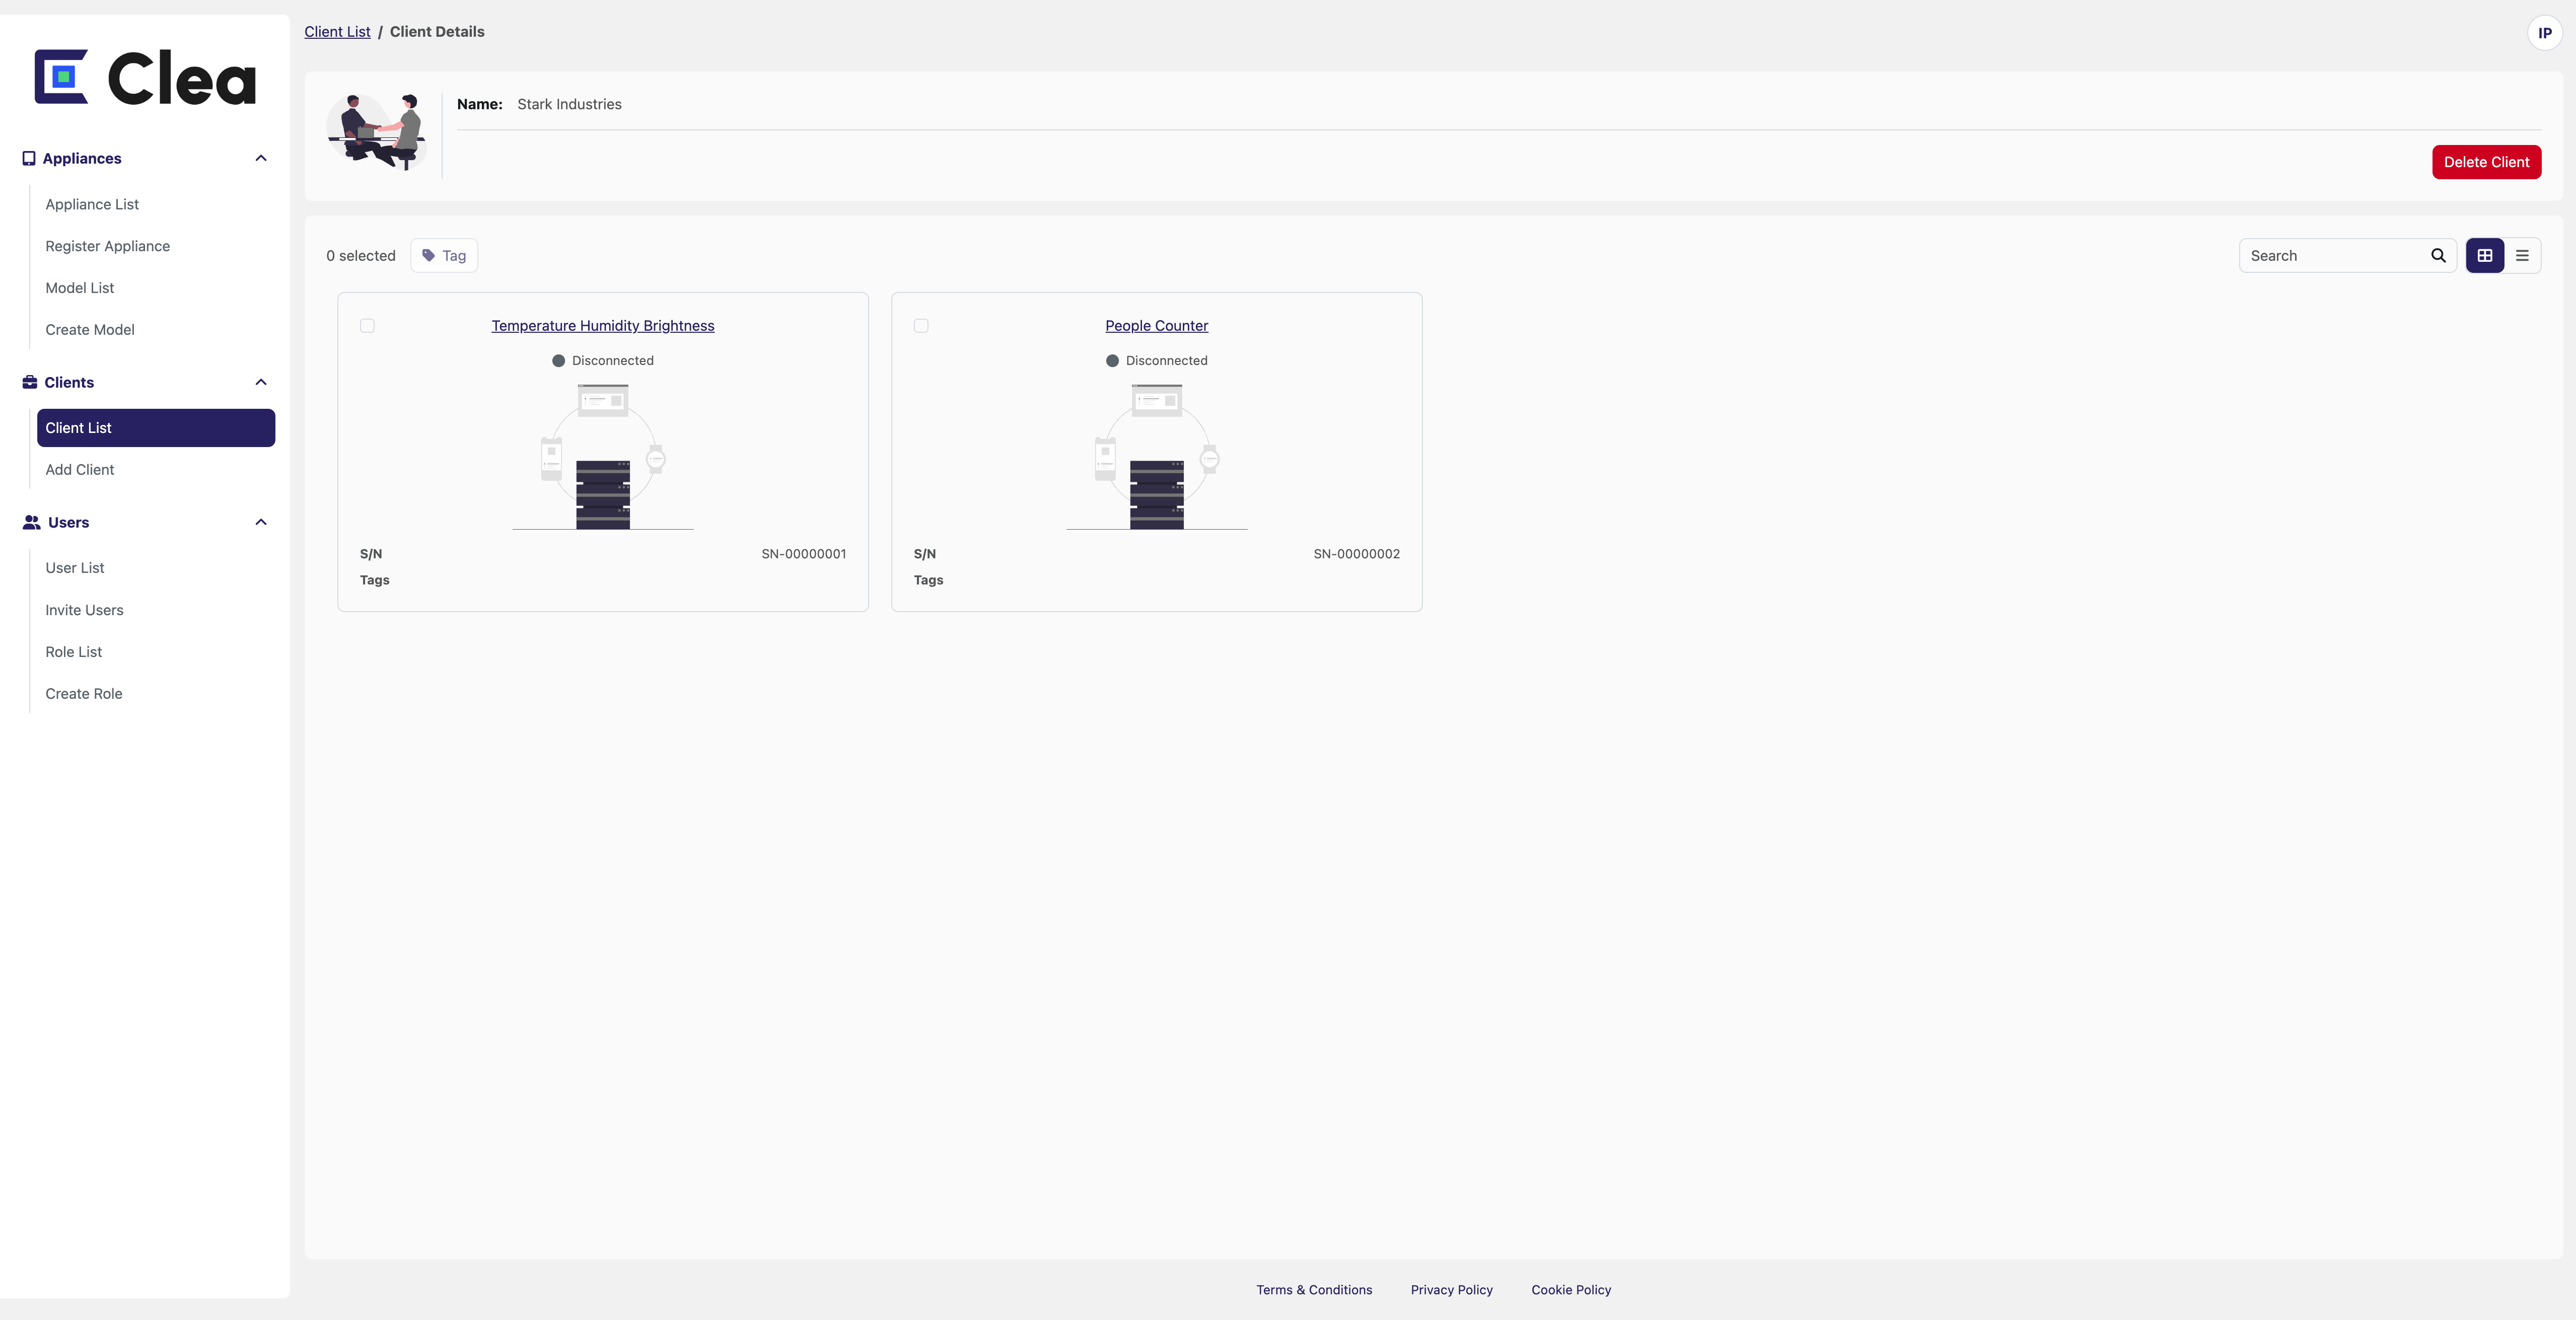
Inside the client's details page, it is possible to visualize all the assigned appliances and represent the company logo. By clicking on the Delete Client button on the left, you can delete this organization as your client.
Add a new Client
To add a new Client Organization, it is necessary to have the Referral code created directly by the customer.
First thing first, the admin of the Client (e.g., a distributor or a customer) needs to register its new organization on the platform by clicking on the register link on the login page.
Once inside the platform, the admin of the new organization will have to reach the same Client List page and click on the Generate referral code button on the left panel to generate its own Referral code and communicate it to the company providing the service.
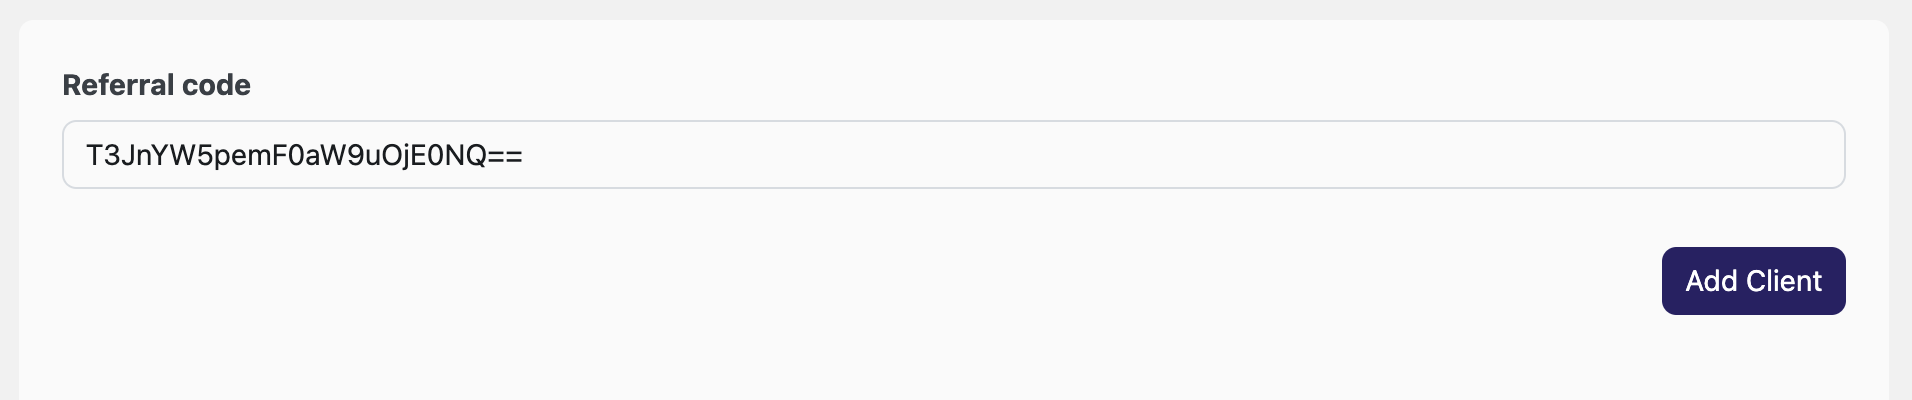
The supplier company (e.g., the provider of the appliances or a distributor) can easily add the new organization simply by clicking on Add client button and copying the referral code received.
Users
User List
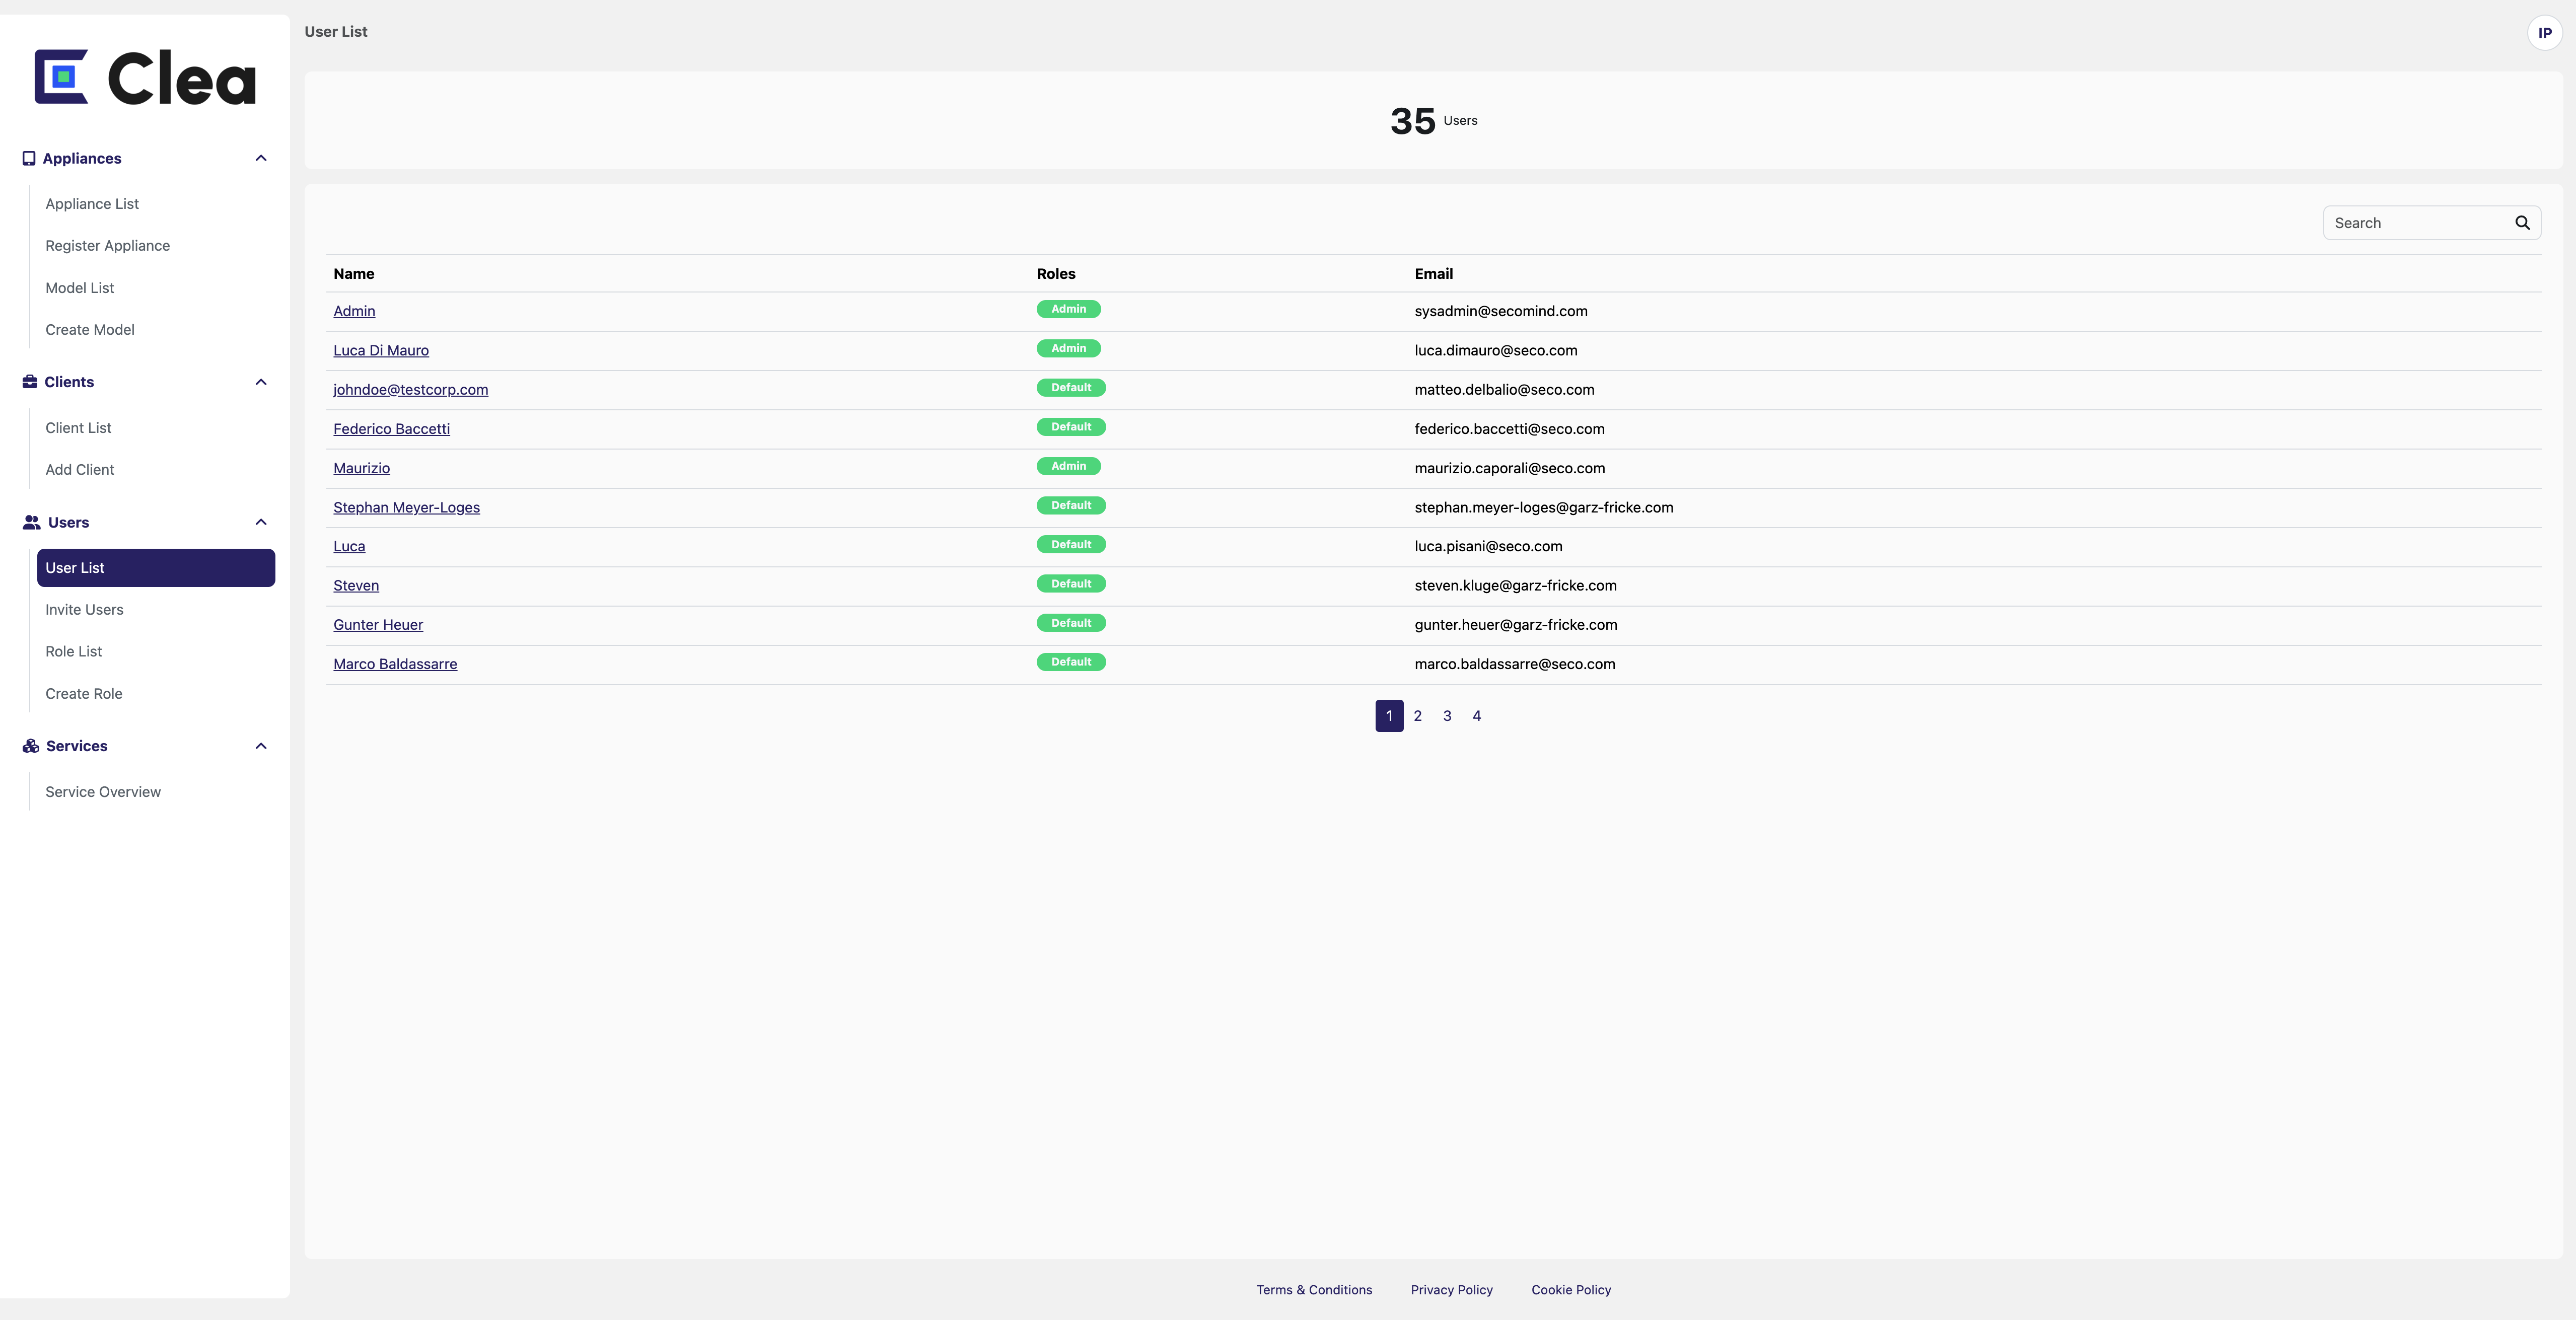
The User List allows you to manage users within the organization. The page shows the user name, the role assigned, and the email.
User Details
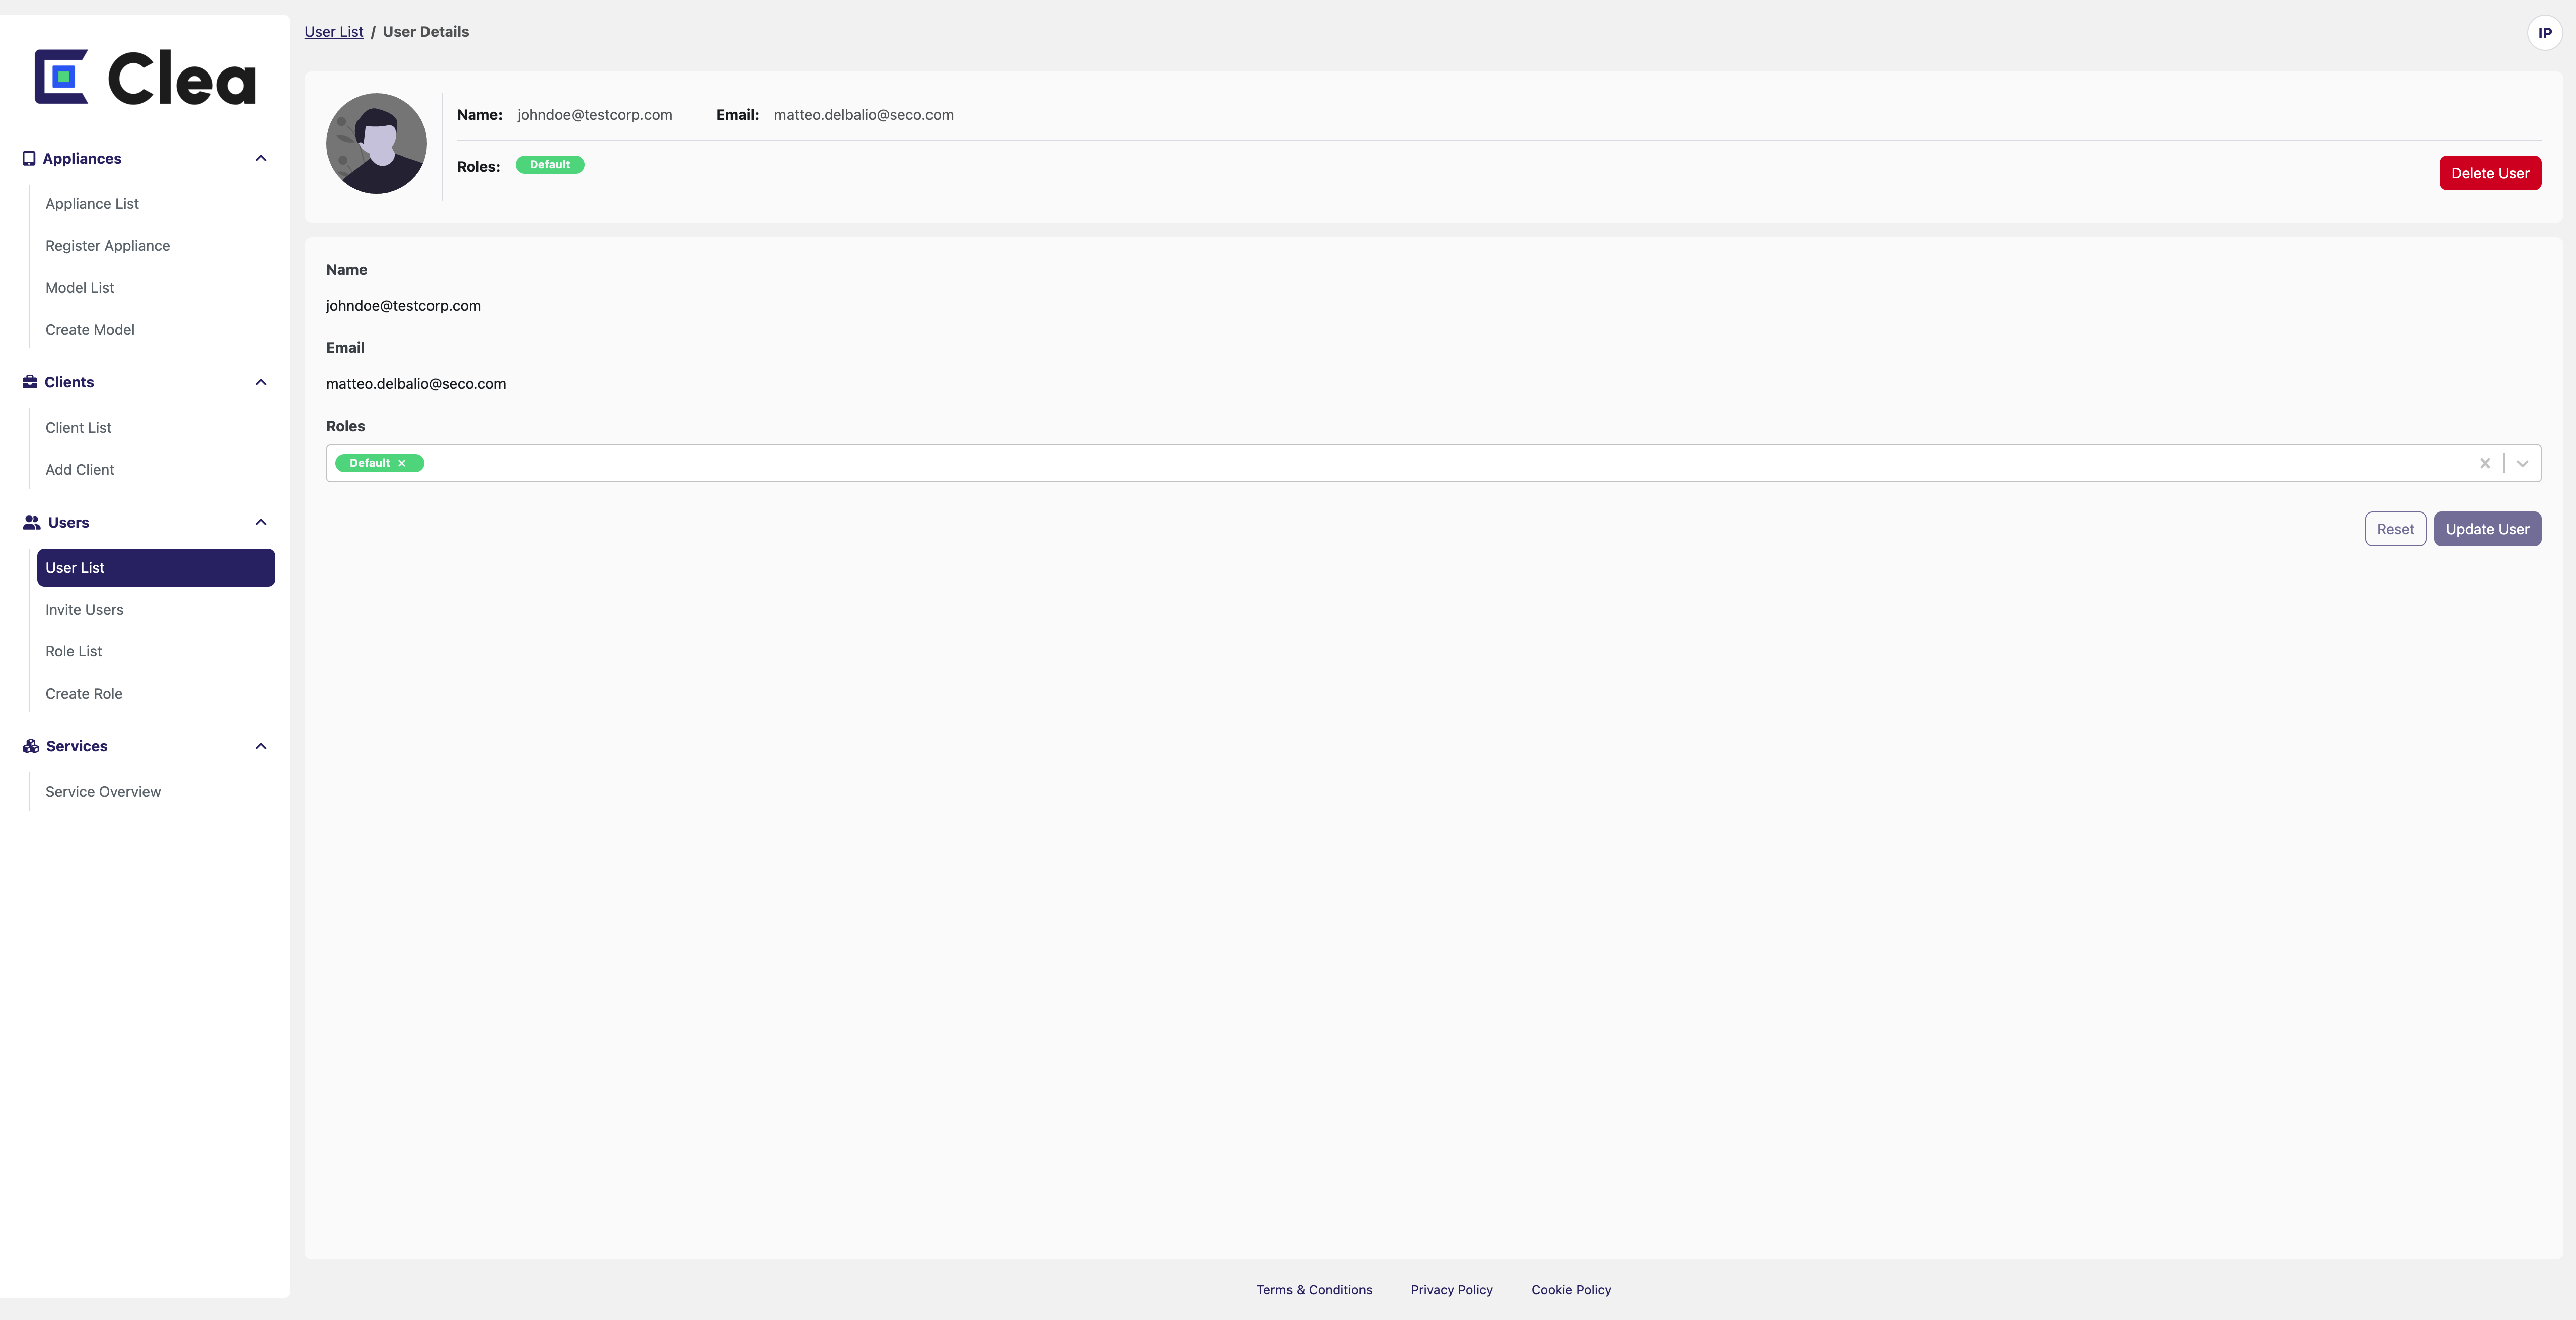
The user details page shows the single user's information with the possibility to modify the role.
By clicking on the dropdown menu of the roles, assigning the previously created roles to the user with their attached permissions will be possible.
Invite User
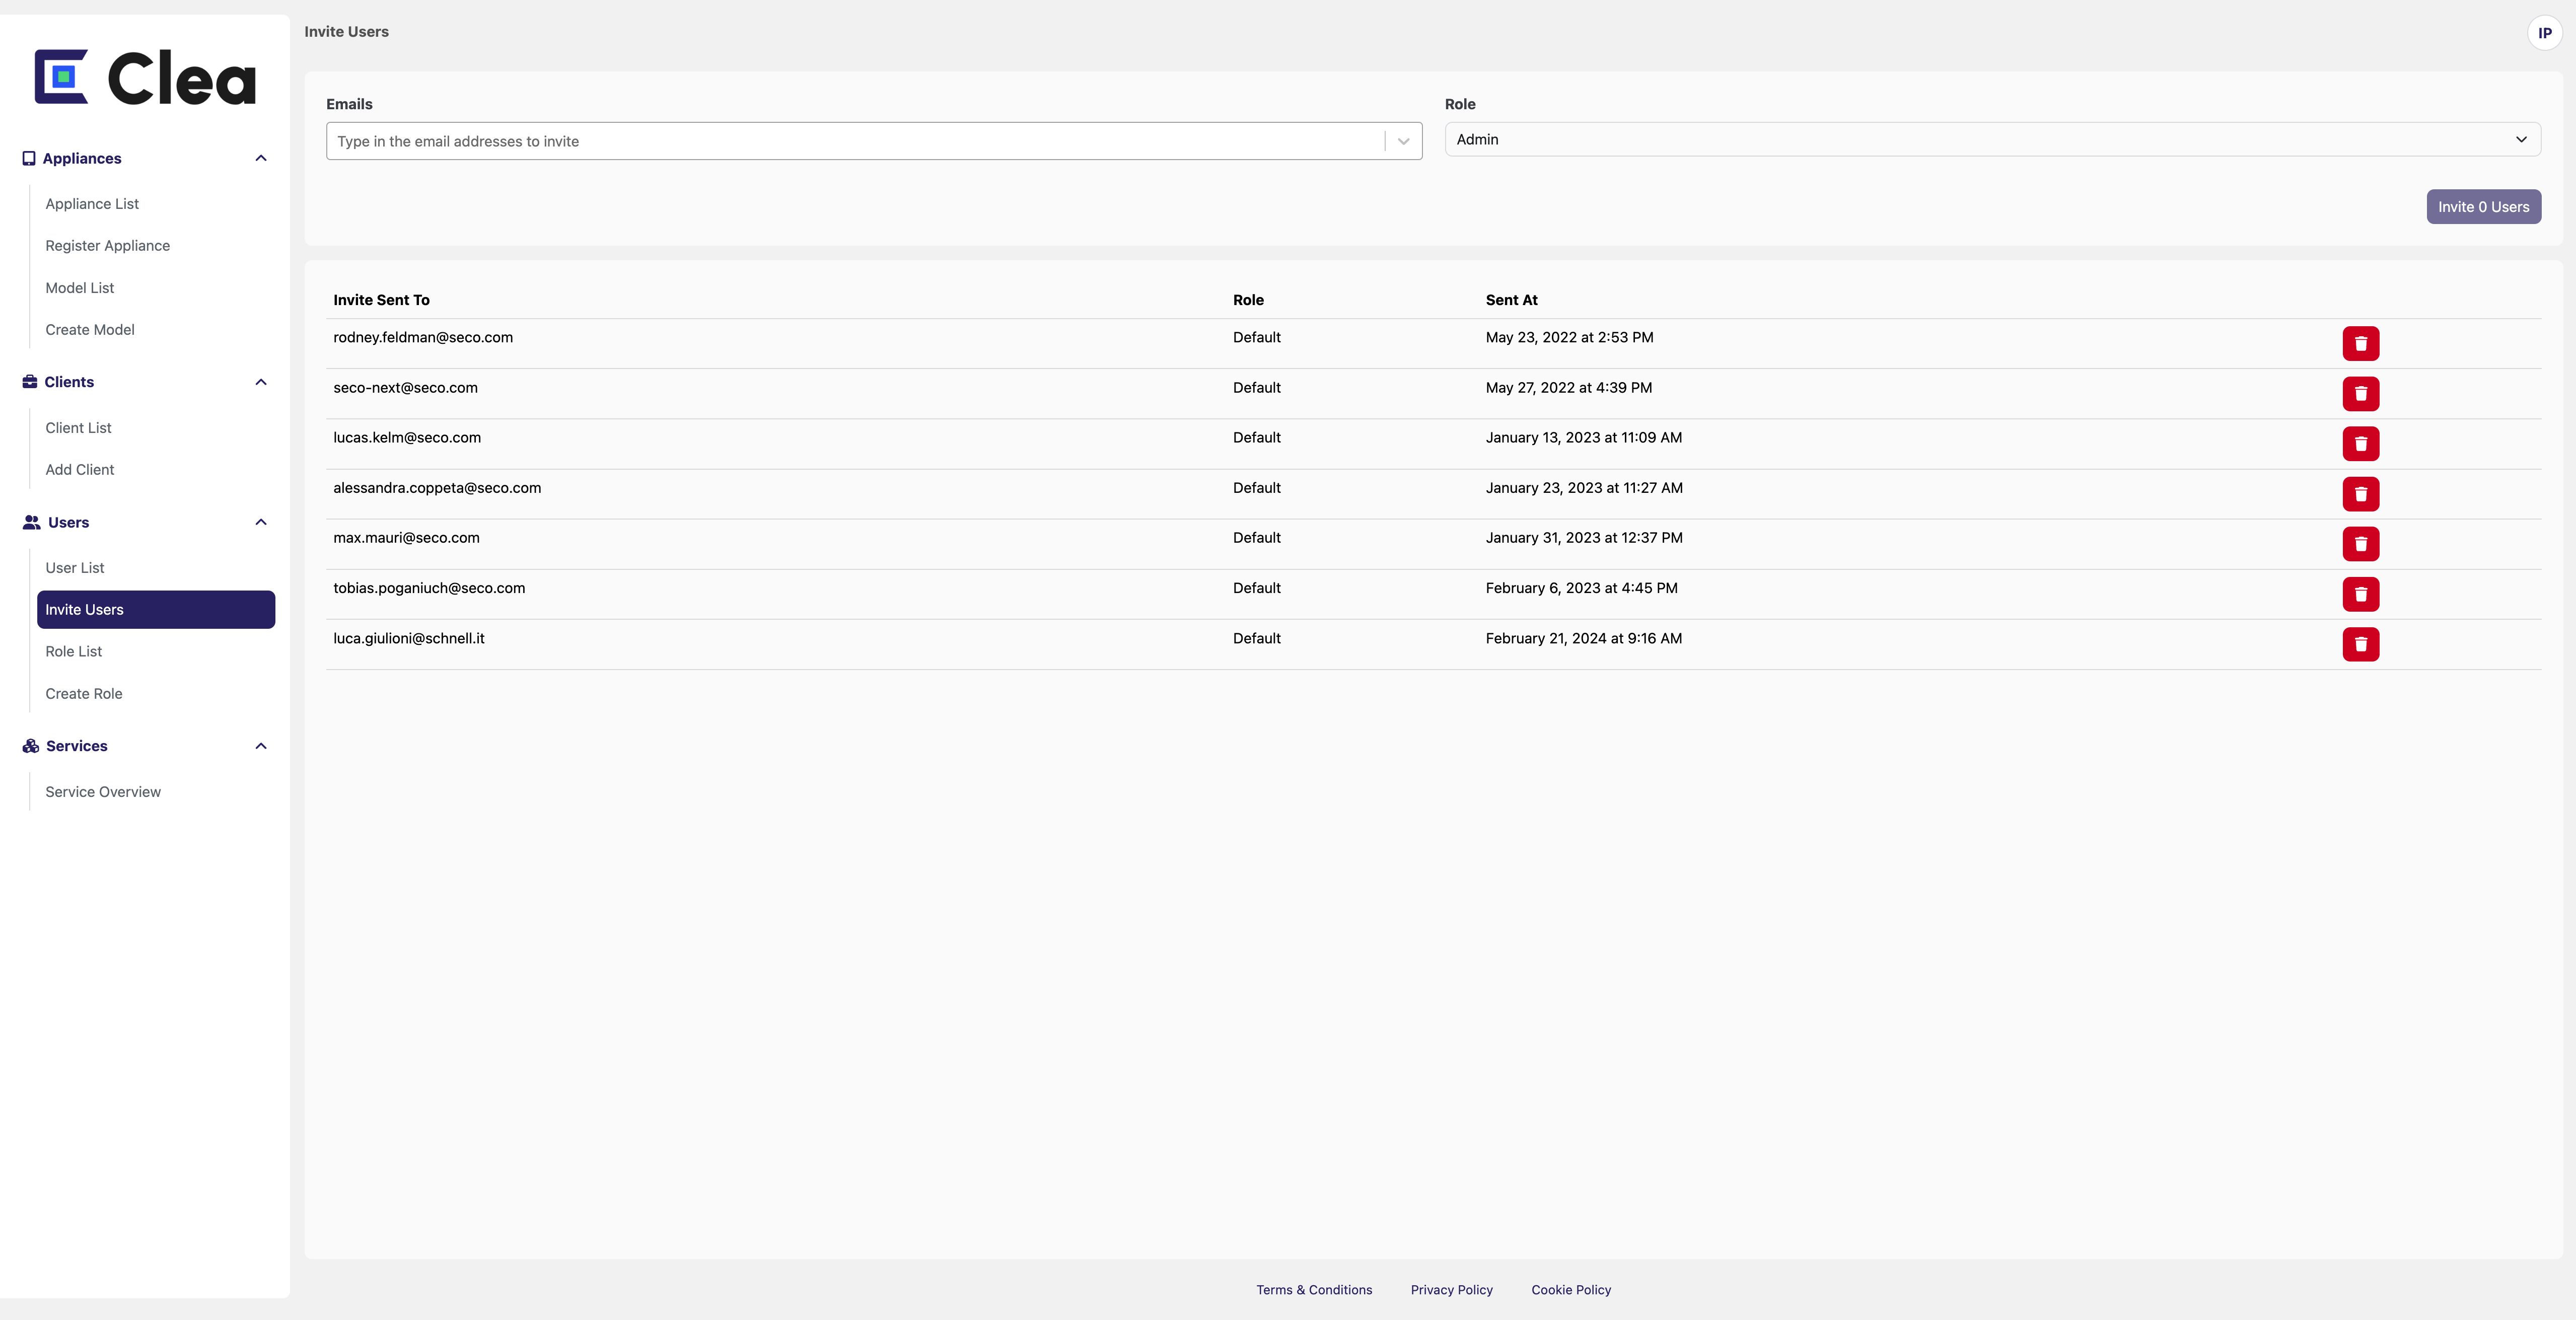
To invite a new user to your organization, press the Invite User button in the header menu. It is possible to insert one or more email addresses to invite more than one new user. An email will be sent to the marked addresses, with the invitation link to enter. The invited user will need to enter his name and choose a good password.
Role List
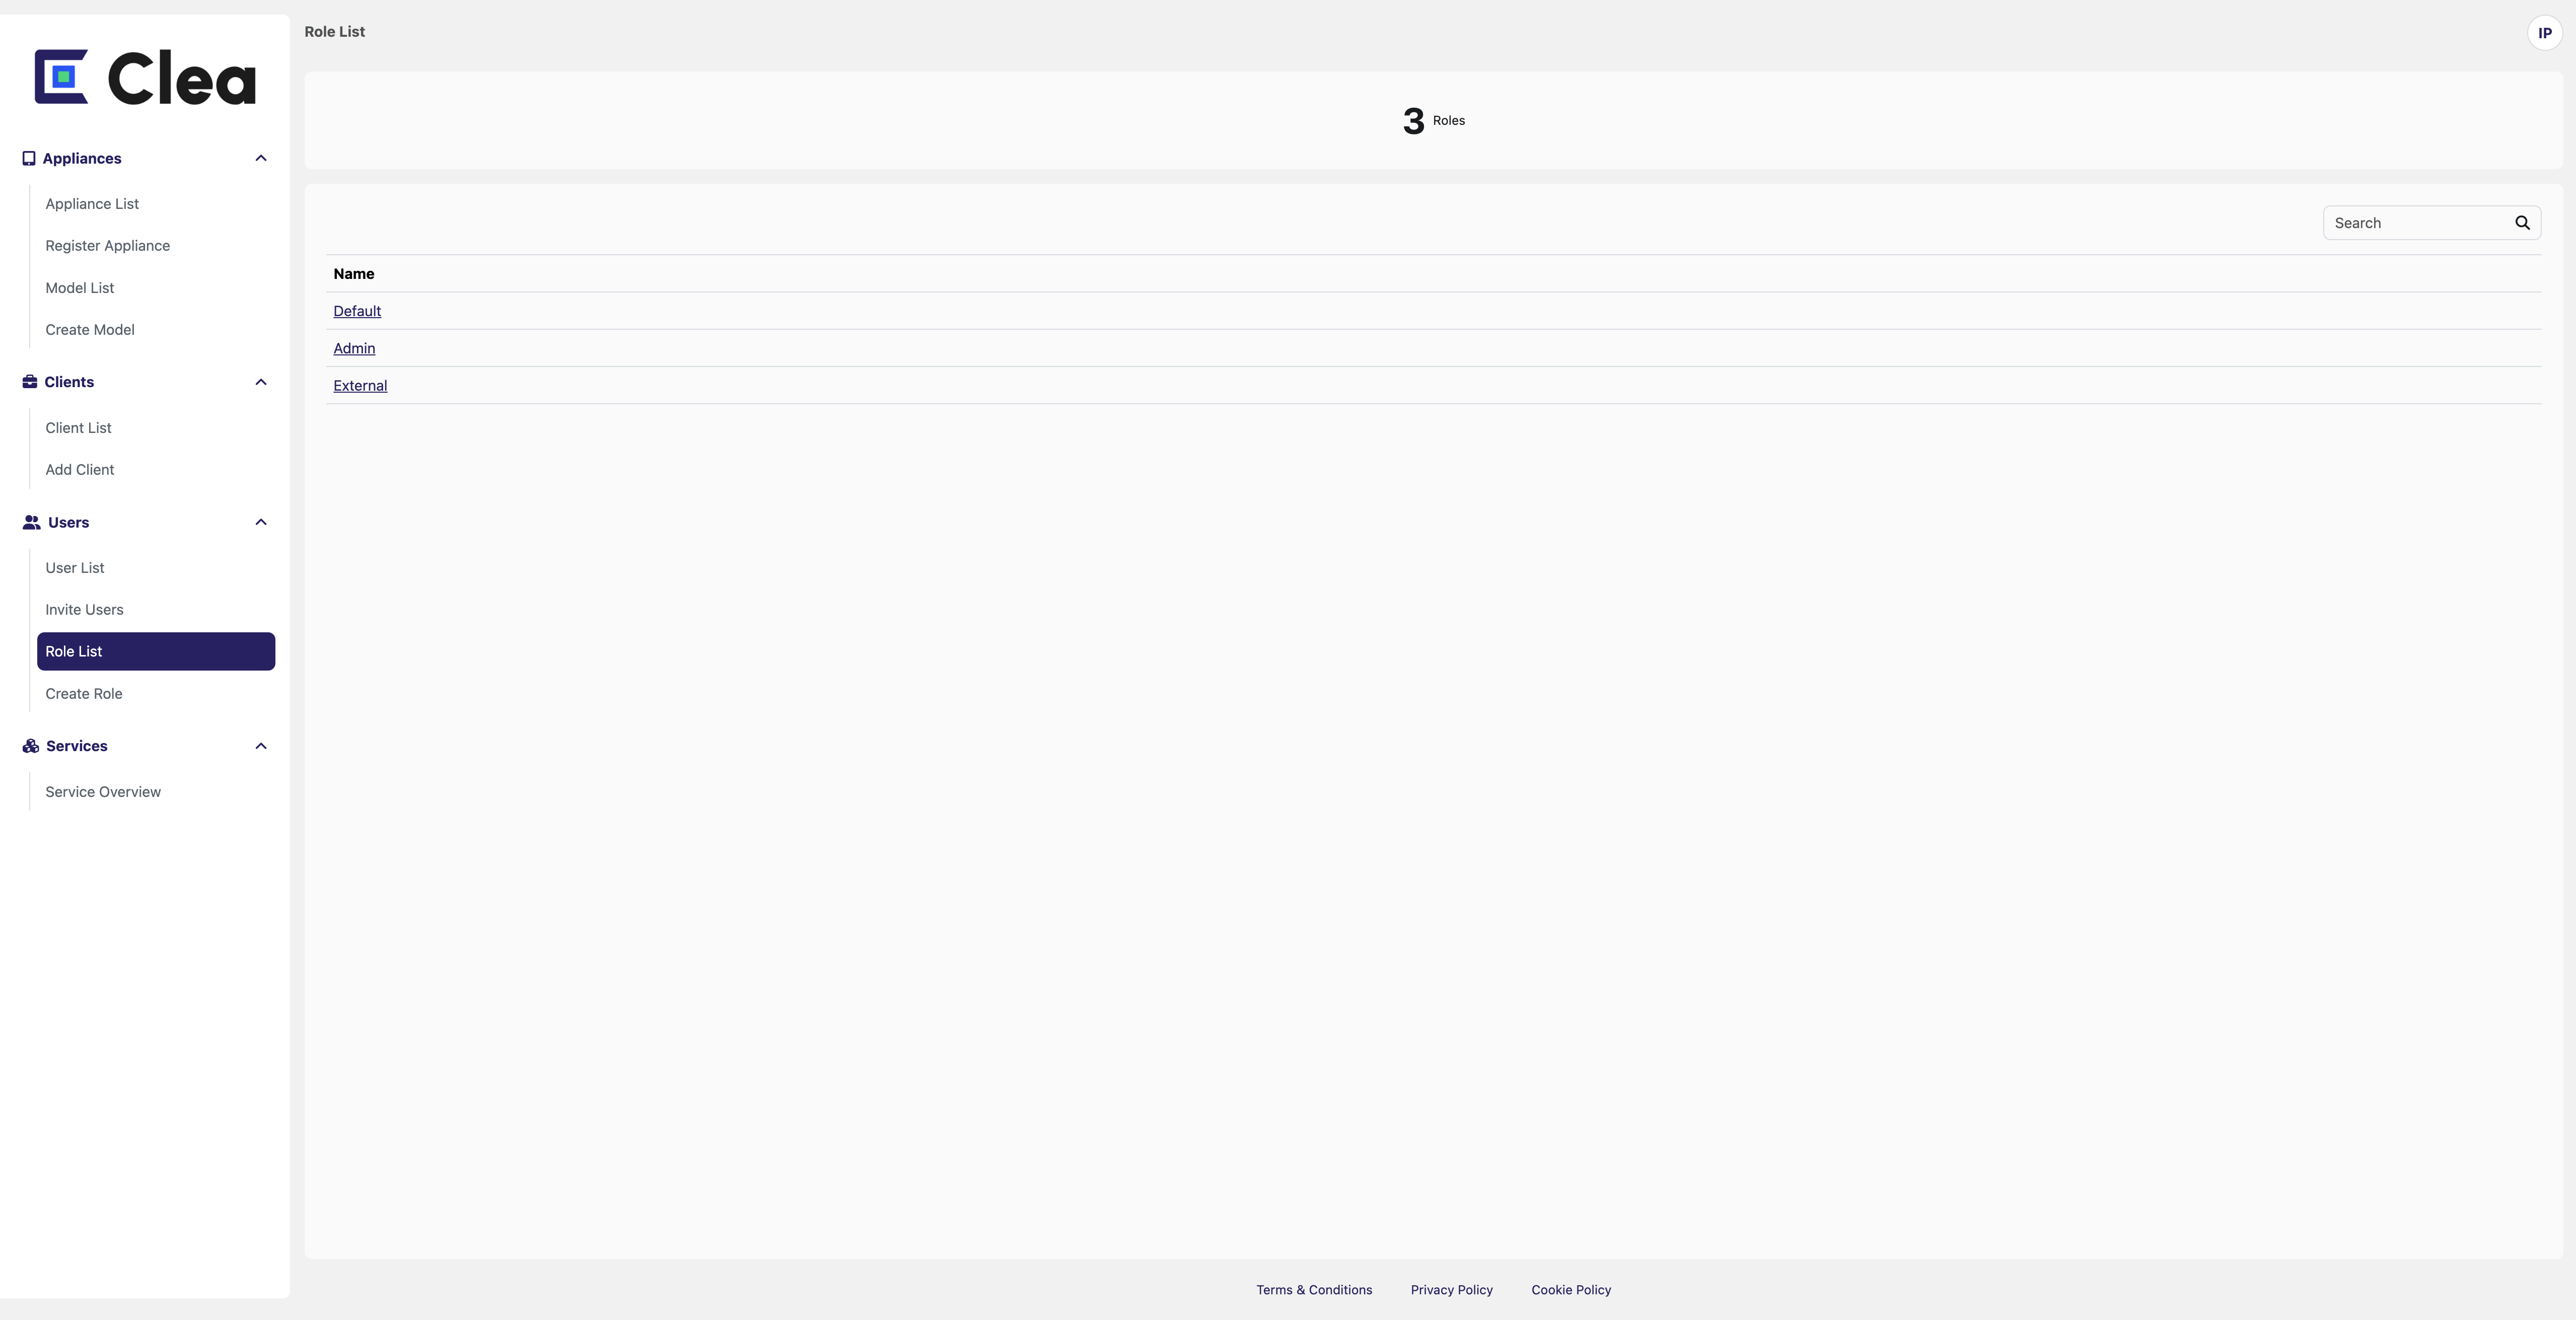
The Role List allows the user to see all the Roles created in the platform. A Role is a selection of permissions assigned to a User.
Role Details
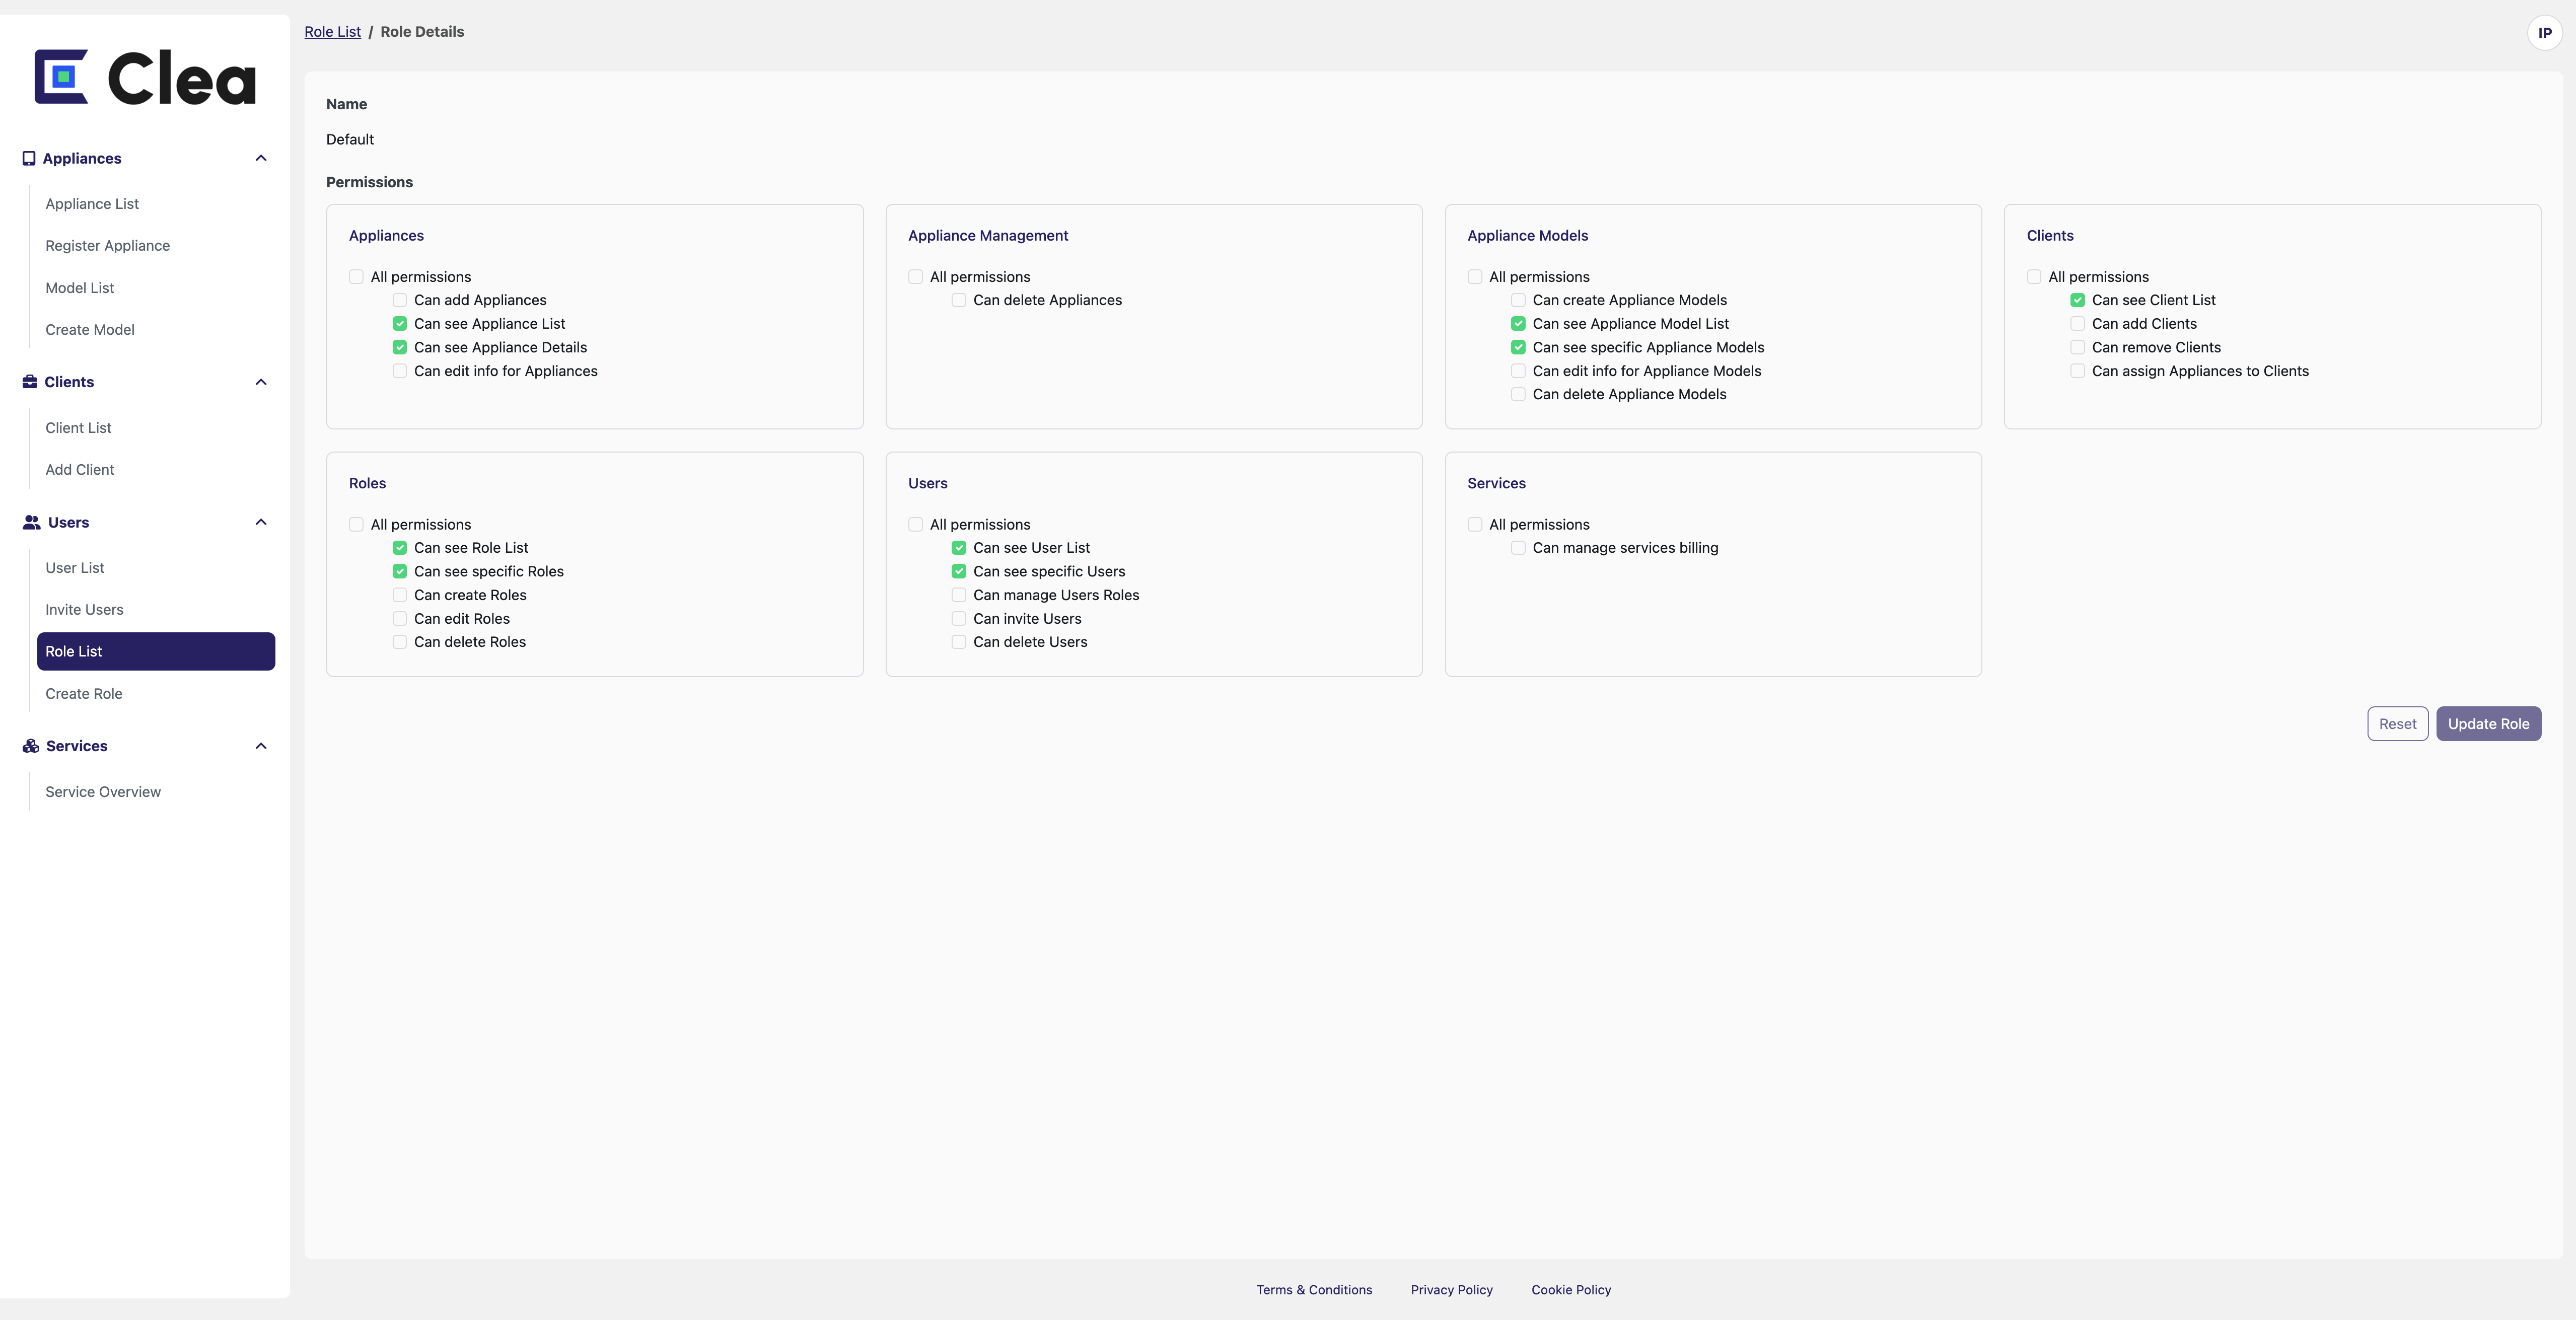
By selecting a specific Role from the list, the user can check the permissions assigned to the company's internal users when invited to the platform.
Create Role
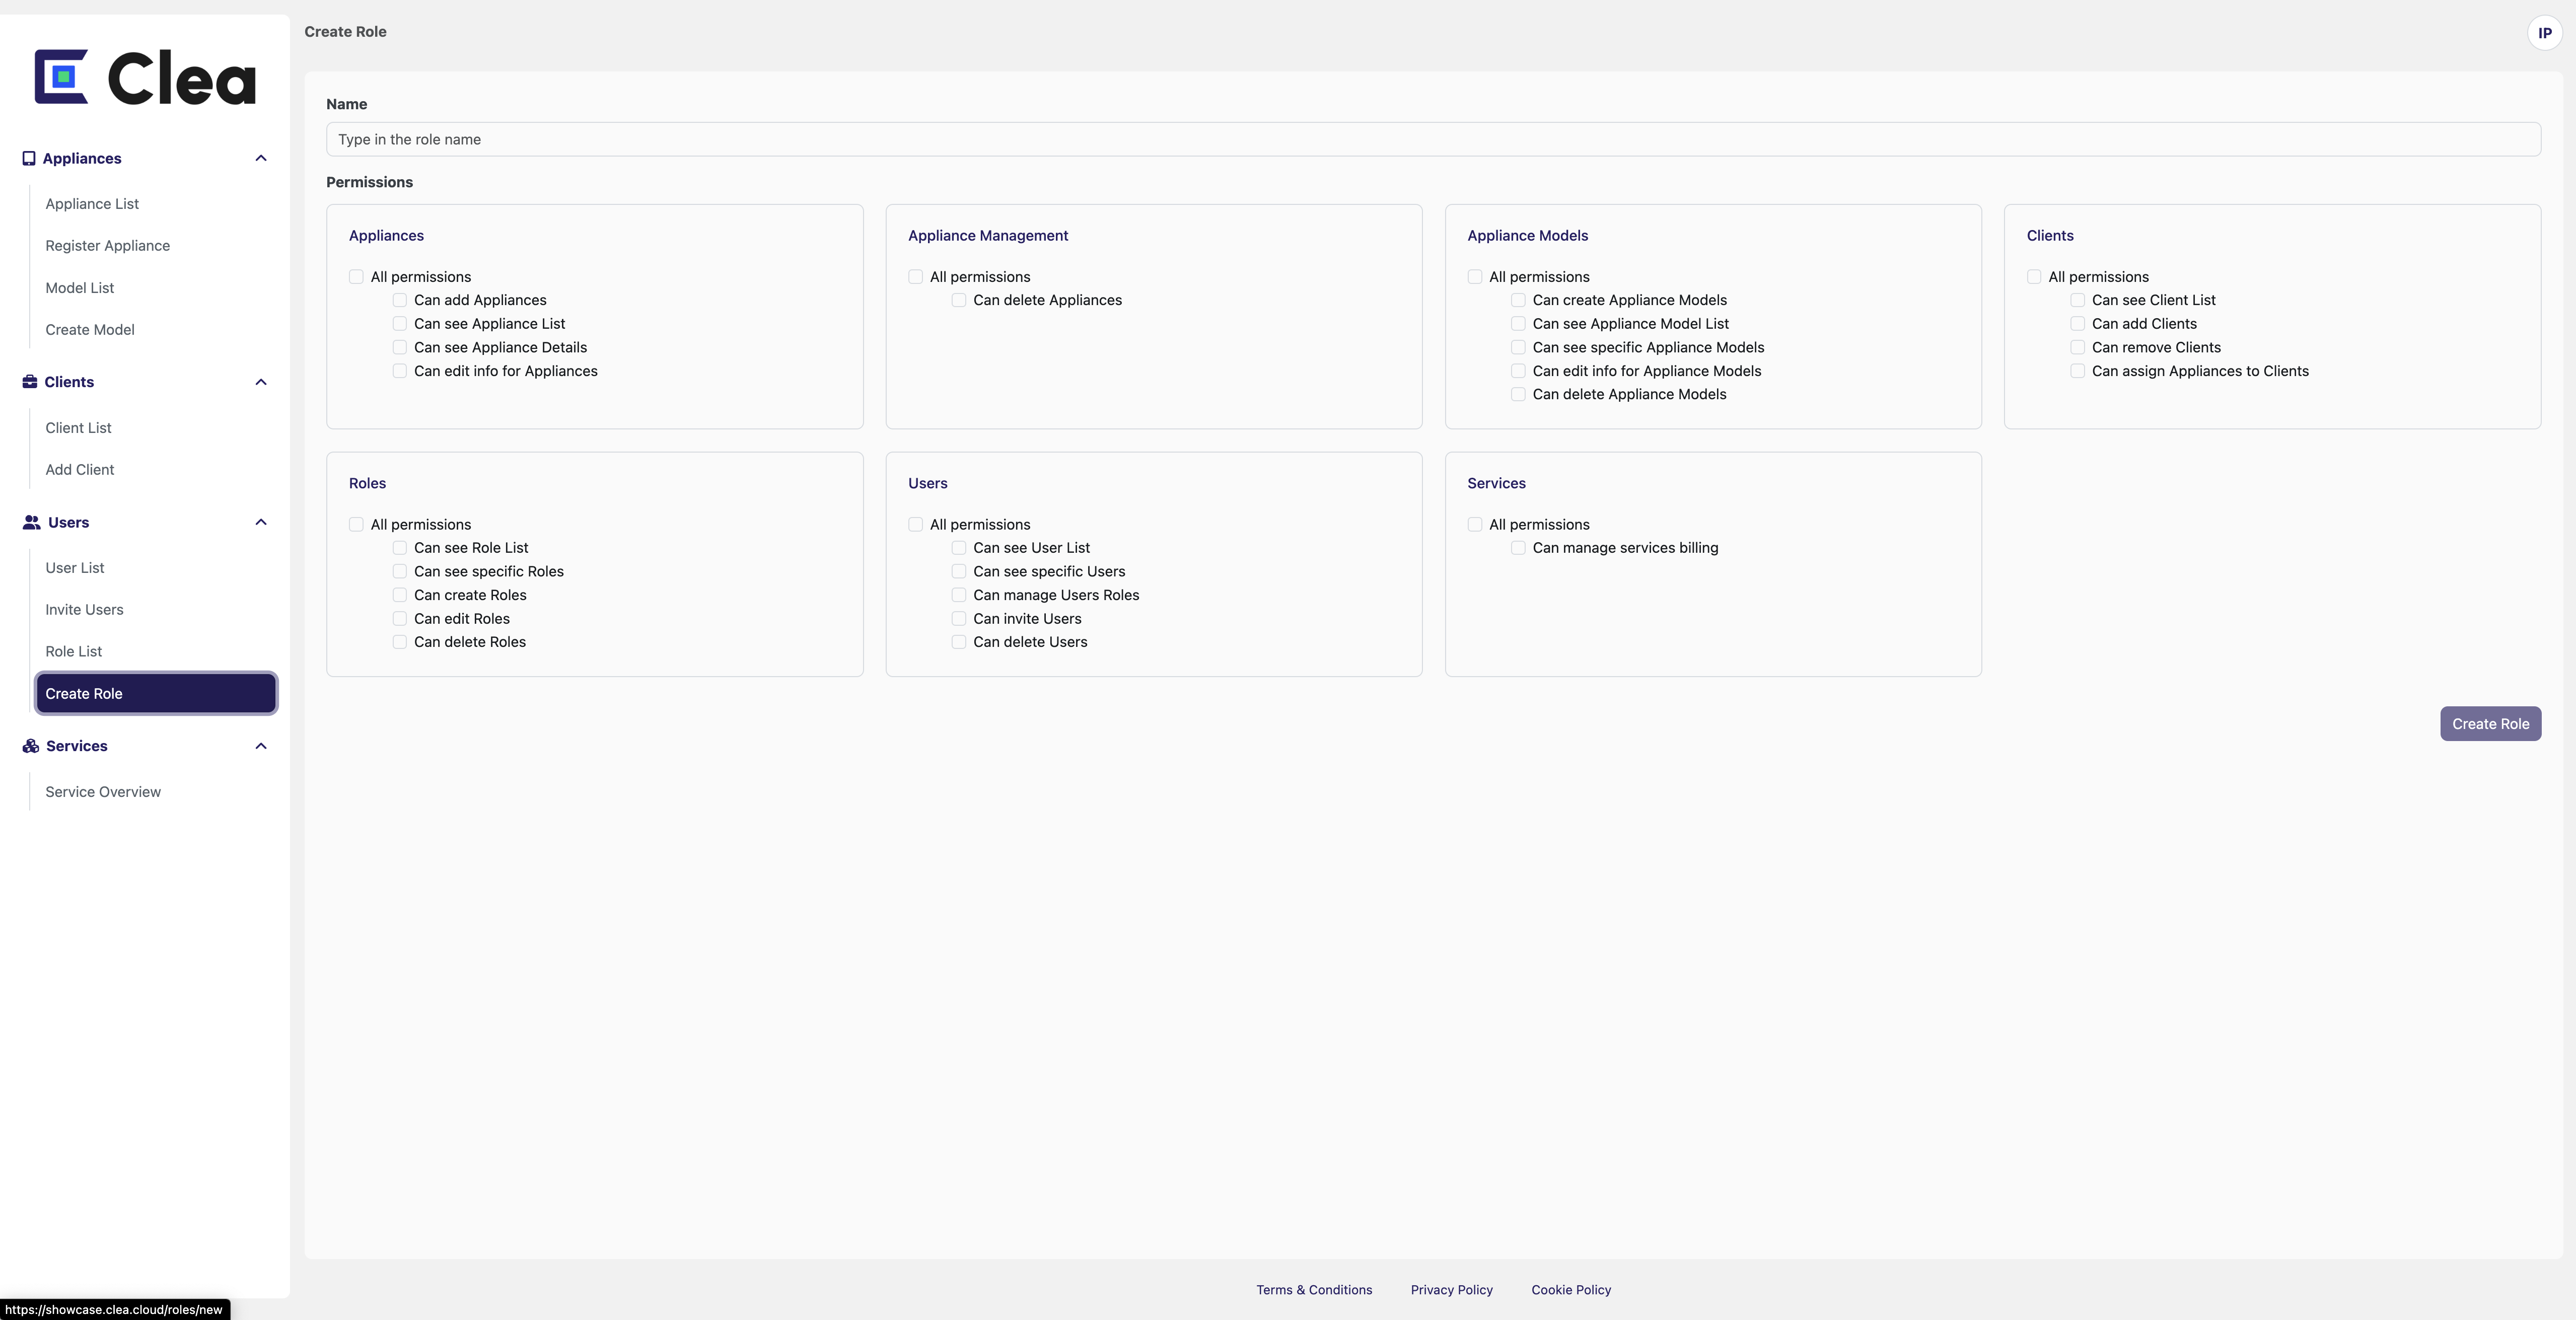
To create a new role, enter the name, select the permissions to be assigned and press the Create Role button to confirm.
The page shows permissions divided into macro areas for easier identification, but you can customize the roles, choosing the permissions individually.